


How to Install Interior Wall Cladding Panels Over Existing Tiles Without Demolition?
Why Covering Tiles Might Be Smarter Than Removing Them
If you’ve ever taken a hammer to a tiled wall, you know the mess. The dust gets everywhere, the grout lines fight back, and suddenly what was supposed to be a weekend project turns into a full-scale renovation. For many homeowners and contractors, the question isn’t whether the old tiles need to go—it’s whether they have to go. The short answer is no. Installing interior wall cladding panels over existing tiles is not only possible, it’s often the smarter move.
There are practical reasons for this. Demolition adds labor, disposal costs, and time. In commercial settings like restaurants or hotel bathrooms, downtime is expensive. In a residential bathroom, the mess alone can disrupt daily life for days. By leaving the existing tile in place, you save on disposal fees, avoid potential damage to the waterproofing layer behind the tile, and keep the job clean. But this approach only works if you prepare the surface correctly and choose the right cladding system.
What You Need to Check Before You Start
Before you buy a single panel, you need to assess the existing wall. Not every tiled surface is a good candidate for overlay installation. Here’s what I’ve learned from real project sites—there are three things that matter most:
1. Adhesion of the existing tiles. If tiles are loose or hollow-sounding when tapped, they need to be re-secured or removed. You can’t build a stable new surface on top of a wobbly one. Use a construction adhesive to re-bond any loose tiles before proceeding. If more than 20% of the tile area is loose, you might be better off removing them entirely.
2. Surface profile and cleanliness. Glossy glazed tiles are smooth—too smooth for most adhesives to grip. You’ll need to mechanically roughen the surface. A belt sander with coarse grit or an angle grinder with a diamond cup wheel works well. The goal is to break the glaze, not to remove the tile. After sanding, clean the wall thoroughly. Grease, soap scum, and old grout release agents can ruin adhesion. A degreaser followed by a rinse with clean water is standard practice.
3. Moisture and substrate condition. If the tile is in a wet area—like a shower surround—you need to check for moisture damage behind it. Look for soft grout, discolored tiles, or a musty smell. If the waterproofing membrane behind the tile is compromised, cladding over it will only trap moisture and lead to mold. In those cases, you have to tear it out. But if the substrate is dry and sound, proceed with confidence.
The Right Preparation Makes All the Difference
Once you’ve confirmed the wall is sound, the preparation work is straightforward but non-negotiable. I’ve seen too many DIY jobs fail because someone skipped the primer step. Here’s a sequence that works:
Start by sanding the entire surface. You don’t need to remove the tile, just scuff it enough to create a mechanical key. Vacuum the dust, then wipe down with a damp cloth. Let it dry completely. Next, apply a high-bond primer specifically designed for non-porous surfaces. This is not a step to skimp on. A quality acrylic or epoxy-based primer will bridge the gap between the glossy tile and your adhesive. Let it cure according to the manufacturer’s instructions—usually 24 hours.
Now you’re ready to measure and cut your panels. Most interior wall cladding panels are designed to be cut with a circular saw or a fine-tooth handsaw. Measure each section carefully, accounting for outlets, corners, and edges. Leave a small expansion gap—about 2mm—at the top and bottom if the panel is a rigid material. Flexible panels are more forgiving, but still, don’t force them into tight spaces.
Installation: Adhesive, not Nails
For installing over tiles, adhesive is almost always the better choice than mechanical fasteners. Screws or nails into tile can crack it, and they require finding studs through the tile layer. Adhesive, on the other hand, spreads the load evenly and avoids unnecessary damage to the existing surface.
Use a construction-grade adhesive designed for wall panels. Apply it in vertical beads about 6 inches apart across the back of the panel, then press it firmly onto the primed tile surface. Some installers prefer to apply adhesive to the wall itself—either way works, as long as coverage is consistent. Once the panel is in place, use a roller or a block to press it evenly, especially along the edges. A few temporary supports or bracing can help hold the panel in place while the adhesive cures.
One thing to watch for: if your panels are heavy or large-format, you might need additional support. In those cases, a combination of adhesive and a few strategically placed trim screws into the studs can be a safe compromise. Just pre-drill through the panel and tile to avoid cracking.
Finishing the Job: Joints, Edges, and Trim
The seams between panels are where the installation either looks professional or amateurish. For a seamless look, use a matching color caulk or sealant designed for wall panels. Apply it carefully, tool it smooth, and wipe away excess immediately. For a more structured look, use aluminum or PVC trim strips at the corners and edges. These not only hide gaps but also protect the panel edges from impact.
In wet areas, all seams and edges should be sealed with a silicone-based sealant. This prevents water from seeping behind the panels and reaching the old tile substrate. A small bead of silicone along the bottom edge is also a good idea to block any rising moisture.
Common Mistakes and How to Avoid Them
Over the years, I’ve seen a few patterns repeat. One is underestimating the importance of surface roughness. Even with a good primer, a perfectly smooth tile can fail to bond. Another is rushing the adhesive cure time. Some adhesives need 24 to 48 hours before they reach full strength. If you start trimming or applying pressure too early, the panel can shift. And a third is forgetting to account for the added thickness of the panel when reinstalling fixtures like faucets, towel bars, or toilet flanges. Plan for that offset before you glue anything down.
Also, don’t assume all panels are suitable for this application. Some cladding materials are designed for stud walls or new drywall, not for overlay onto tile. Check the manufacturer’s recommendations. If the product spec says “suitable for overlay installation,” you’re good. If it doesn’t, ask.
Choosing the Right Material for the Job
Not all interior wall cladding panels are created equal when it comes to covering existing tile. You want something that is dimensionally stable, moisture-resistant, and light enough to be supported by adhesive alone. Rigid PVC panels, aluminum composite panels, and certain engineered wood panels with a waterproof core are all good candidates. If you’re working in a kitchen or bathroom, prioritize moisture resistance over aesthetics. A beautiful panel that warps after six months is no bargain.
This is where material selection becomes a real decision point. You want a product that balances surface finish, durability, and ease of installation. One option that has been gaining attention in the market is the Fabric Grain-MLBW036 from Shengshi Meilin. It’s a panel that offers a soft fabric-like texture but with the structural stability of a modern composite material. The surface is designed to be easy to clean, and the panel itself is light enough for adhesive-only installation over properly prepared tile. It’s a good example of how material innovation is making overlay installations more practical.
When to Walk Away from This Method
Let’s be honest—this method isn’t for every situation. If the wall behind the tile is damaged, if there’s active mold, or if the tile is severely uneven, demolition is the right call. Likewise, if you’re planning to sell the property and want to show potential buyers a clean, new substrate, an overlay might raise questions. But for most renovation projects—especially in rental properties, commercial spaces, or quick home updates—installing interior wall cladding panels over existing tiles without demolition is a proven, cost-effective strategy.
The key is to treat the existing tile as a substrate, not a shortcut. Prep it properly, use the right adhesive and primer, and choose a panel that matches the demands of the room. Do that, and you’ll have a wall that looks like it was always meant to be there.
RECOMMEND

Oct 26, 2026
How Do You Choose Fire-Resistant Composite Panels for Commercial Use?
Choose fire resistant composite panels for commercial interior projects. Learn how to verify fire documentation, compare options, and avoid costly specification mistakes.
Oct 26, 2026
Are Meilin Board Custom Panels Suitable for Luxury Hotel Lobbies?
Explore Meilin Board custom decorative panels for luxury hotel lobbies. Discover design considerations and essential fire, emissions, and maintenance checks before specifying your project.
Oct 26, 2026
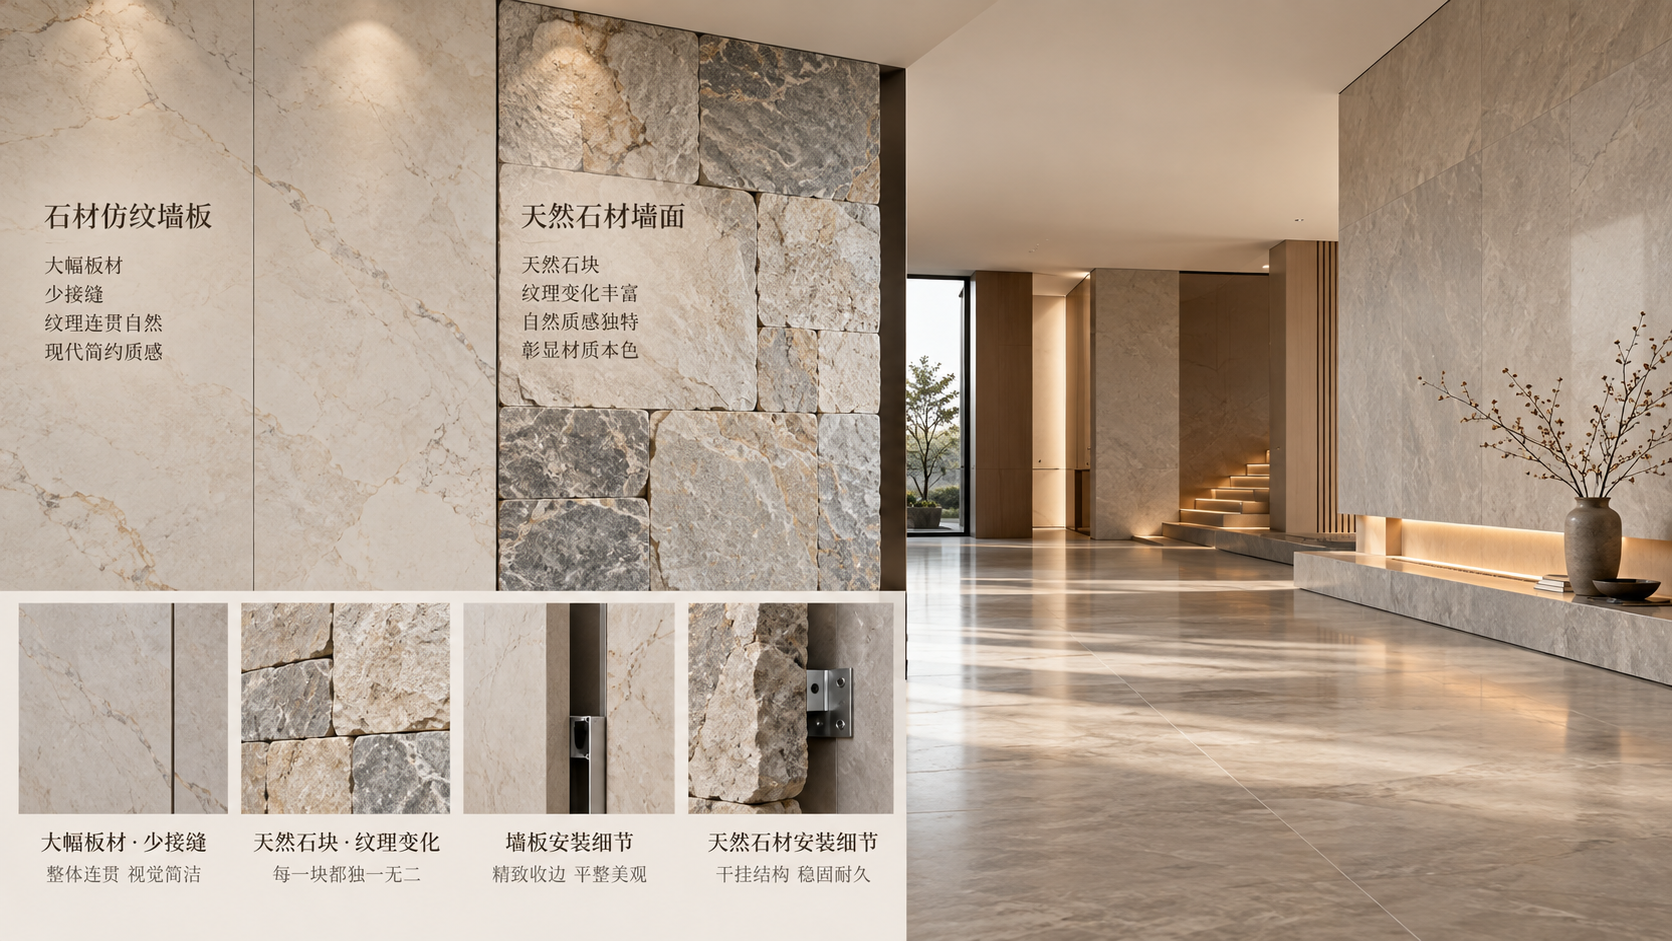
Stone-Look Wall Panels vs. Natural Stone: Which Costs Less?
Compare stone look wall panels vs natural stone cost, from materials and installation to maintenance. Discover which option delivers better value for your next wall project.
Oct 25, 2026
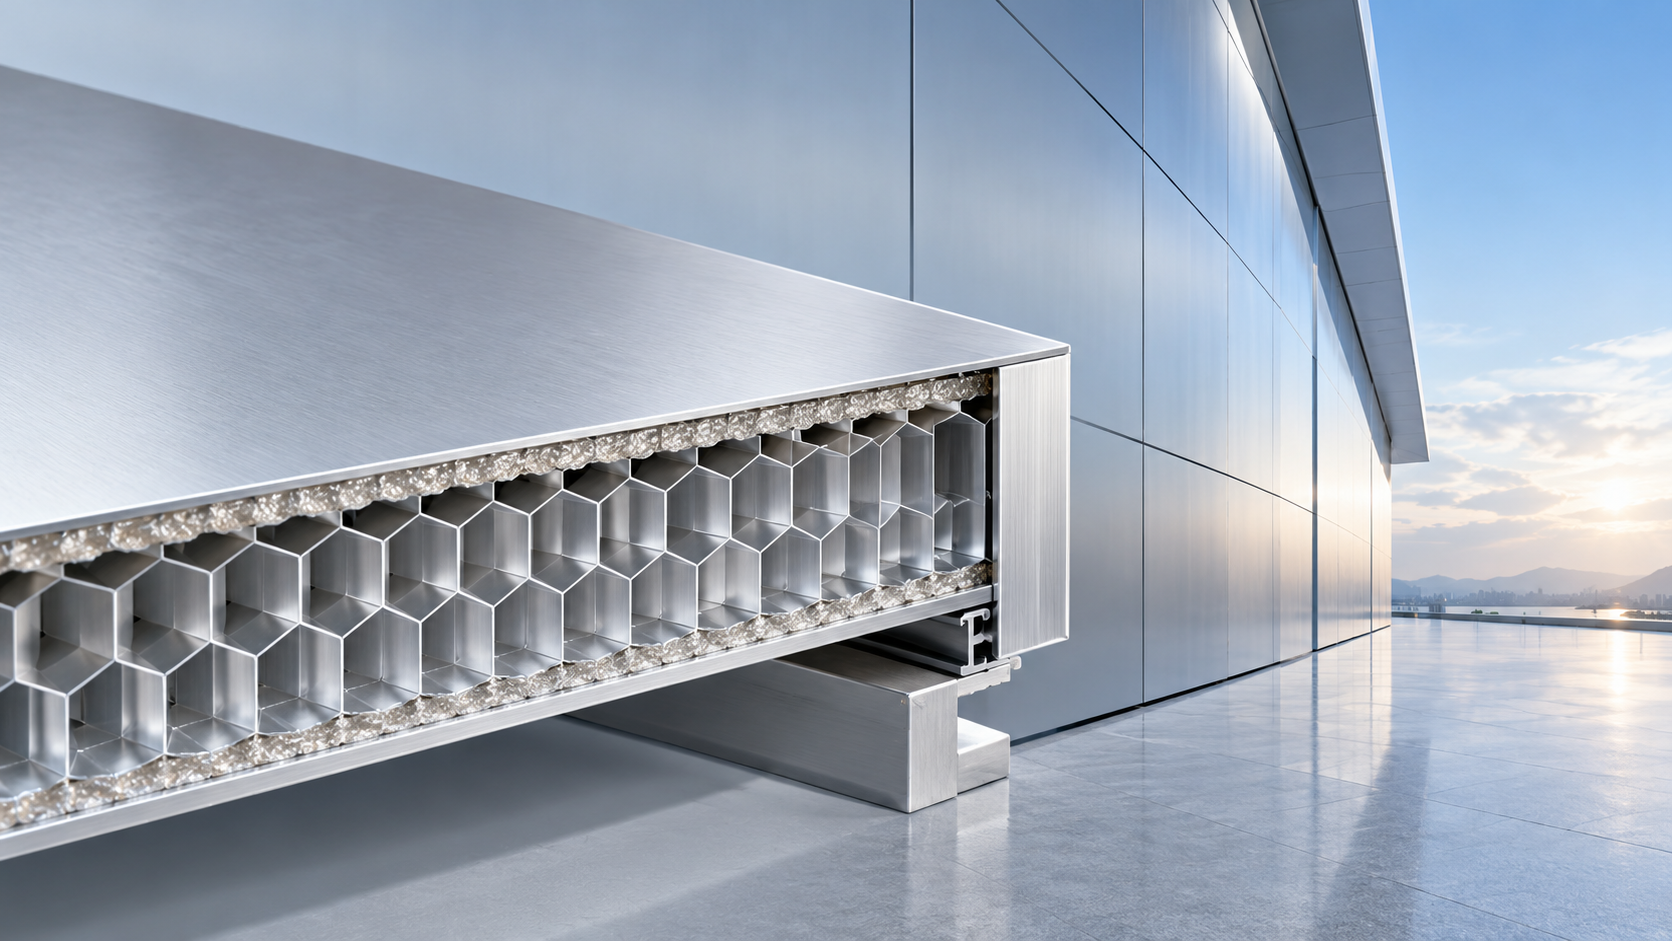
How Strong Are Meilin Board Aluminum Honeycomb Panels?
Explore aluminum honeycomb panels structural strength with Meilin Board. Learn how thickness, core design, and fixings affect performance to choose panels confidently.