


How Should Integrated Door and Wall Panels Be Coordinated?
When a door leaf, frame, wall cladding, skirting, and adjacent furniture are selected separately, the result can feel fragmented even when every individual material is attractive. Integrated door and wall panels solve that visual break by treating the doorway as part of the wall composition rather than as an object added afterward. Done well, the transition is quiet: joints align, colors continue, hardware feels intentional, and the room appears more spacious and composed.
Yet integrated door and wall panels design coordination is not only an aesthetic exercise. It involves substrate conditions, opening tolerances, fire-performance requirements, acoustic expectations, maintenance needs, and the sequence of several trades on site. A beautiful sample board cannot compensate for a misaligned frame or an unplanned access panel. For architects, interior designers, contractors, and project owners, the key is to coordinate the system early enough that appearance and performance support each other.
Begin with the visual logic of the room
Before choosing panel finishes, decide what the wall is meant to do visually. In a hotel corridor, a concealed guestroom door may need to disappear into a continuous timber-grain wall. In a healthcare or office project, doors may be deliberately visible to improve wayfinding and daily operation. In a residence, the door can become a soft background element that supports furniture, lighting, and artwork without competing for attention.
This decision influences nearly every later detail. A “hidden” door and a “highlighted” door are not simply different colors; they require different approaches to reveals, handles, panel divisions, and grain direction.
- For a concealed effect: continue the wall finish across the door, reduce visual breaks, use carefully planned shadow gaps, and select discreet hardware.
- For a framed effect: use a contrasting door finish, a defined portal, or a change in panel rhythm to give the opening a clear identity.
- For a feature wall: let the door participate in a broader composition, such as vertical fluting, metal trims, stone-look panels, or color blocking.
The most successful schemes usually have one clear rule. If the wall uses warm wood tones with vertical joints, the door should either continue that language or intentionally interrupt it for a stated reason. A door that is “almost matching” often looks accidental.
Coordinate panel modules before finalizing the door location
Panel layout is where many integrated wall systems succeed or fail. Designers may focus on the door finish first, then discover that the door opening cuts through a panel at an awkward point. This creates narrow filler pieces, interrupted patterns, or visibly uneven joints beside the frame.
A better method is to establish a module grid for the whole elevation. Mark panel widths, horizontal or vertical seams, door openings, ceiling interfaces, skirting lines, electrical positions, and any fixed furniture. The doorway should then be adjusted within the composition where possible, rather than treated as an isolated construction opening.
For example, if a corridor wall is divided into repeated 600 mm-wide vertical panels, the door may be designed to occupy one or two modules. The joints on the door leaf can then align with the surrounding wall joints. Even if the door must remain operable, the eye reads the entire surface as one controlled plane.
Do not assume that visual symmetry is always the answer. A centered door may be structurally convenient but visually weak if it produces two narrow panels at each side. In some interiors, a slightly shifted opening produces better panel proportions and a calmer elevation. The final decision should balance architecture, circulation, code requirements, and the finish layout.
Keep joint widths and shadow lines consistent
Integrated systems rely heavily on small gaps. A 3 mm reveal beside a door can look elegant when it matches the panel joints around it; the same reveal can look like a mistake if nearby seams are 8 mm wide or filled with a different color sealant. Define the visible joint width, depth, and finish on drawings rather than leaving those decisions to site interpretation.
Where shadow gaps are used, consider lighting conditions. Dark reveals can add depth in a well-lit lobby, but they may become harsh black lines in a compact apartment or dim corridor. Lighter backing materials, matched edge treatments, or narrower gaps may create a more appropriate effect.
Color matching is only one part of material coordination
Many projects specify “same color” for the door and wall panels. In practice, color alone is not enough. The sheen level, texture, edge treatment, and reflectivity of each surface can make nominally identical colors appear different. A matte wall panel beside a semi-gloss door is noticeable under grazing light. Similarly, a printed wood pattern can look discontinuous if the grain direction changes at the door edge.
Review full-size samples whenever possible, especially for wood-look, fabric-look, metallic, or stone-effect finishes. Small swatches do not show how light travels across a panel seam or how a texture behaves over a broad surface. Samples should be viewed under the project’s expected lighting, including warm decorative lighting, daylight, and corridor lighting where relevant.
Material coordination also includes touch. A door handle area is handled dozens of times per day, while a high decorative wall section may never be touched. A finish that works beautifully on the wall may show fingerprints, scratches, or cleaning marks on an active door leaf. This does not mean the finishes must differ, but it may call for a more durable surface treatment or a handle solution that protects the panel face.
Use grain direction deliberately
Wood-grain panels remain popular because they bring warmth to commercial and residential interiors. However, grain matching requires a precise decision: should the grain run continuously across the wall and door, or should the door be a separate plane with its own direction?
Continuous vertical grain often makes a room feel taller and is easier to coordinate around tall door openings. Horizontal grain can widen a space, but it demands more attention at joints and may emphasize inconsistencies between panels. If veneer, printed grain, or directional textures are involved, identify the required orientation in the finish schedule. “Wood finish to match” is too vague for fabrication and installation teams.
The door frame cannot be an afterthought
An integrated panel door may use a visible frame, a slim metal reveal, a concealed frame, or a frame wrapped in the same finish as the wall. Each option changes the installation tolerance and maintenance strategy.
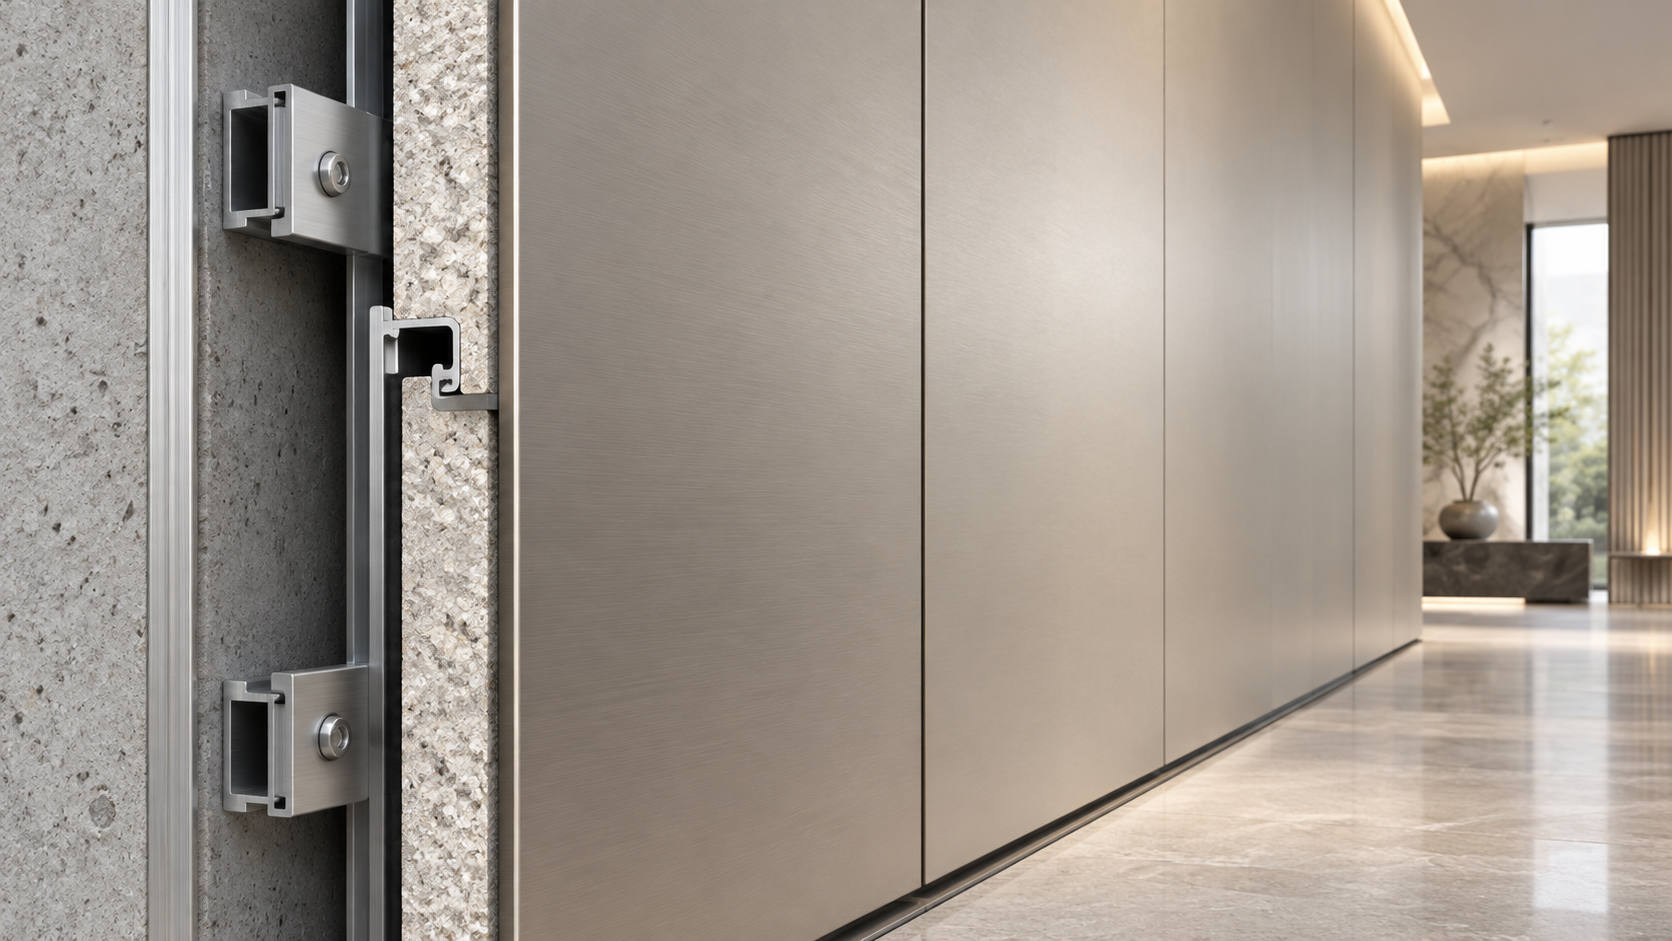
Concealed-frame designs offer a refined appearance, but they require accurate wall build-up and careful coordination with the panel substructure. If the frame is installed too early, later wall adjustments may leave uneven gaps. If it is installed too late, the finished panels may need to be cut back or patched. The frame position, finished wall thickness, hinge type, and swing clearance should be confirmed before fabrication begins.
Visible frames are often more forgiving and may be preferable in areas with heavy use, frequent cleaning, or a greater risk of movement. They can still feel integrated when their color, profile, and proportions relate to the panel system. A narrow dark frame may echo black panel joints or lighting trims; a wrapped frame can create the impression of a continuous portal.
Whichever approach is selected, avoid relying on sealant as the primary visual correction for poor tolerances. Sealant has a role in movement control and finishing, but wide or uneven sealant lines quickly undermine a clean integrated appearance.
Plan the technical layers behind the finish
Wall panels are not just decorative skins. Behind them may be leveling battens, metal framing, insulation, acoustic backing, fire-rated boards, service cavities, or moisture-control layers. The door assembly must work with these layers rather than fight against them.
This is particularly important in hospitality, public buildings, apartments, and commercial interiors where fire compartmentation and smoke control may apply. A door that visually blends into a panel wall still needs to satisfy the applicable fire, smoke, and closing requirements for its location. Decorative finishes must not compromise the tested or specified door assembly. Intumescent seals, smoke seals, closers, hinges, vision panels, and threshold details should be considered as part of the design—not hidden until the final stage.
Acoustic performance deserves similar attention. A meeting room door may sit within acoustically lined wall panels, but sound can still travel through perimeter gaps, undercuts, poorly sealed service penetrations, or an incompatible frame detail. If privacy matters, specify the desired performance early and coordinate seals, thresholds, door core, and hardware accordingly.
For environments exposed to moisture or intensive cleaning, such as washroom approaches, kitchens, clinics, and some educational facilities, consider panel stability, edge sealing, and cleanability. The material selection should suit the actual operating conditions, not only the design renderings.
Hardware should support the concept, not disrupt it
Door hardware is one of the few elements that must remain visible and functional on an otherwise continuous wall. That makes its selection unusually important. Lever handles, pull bars, flush pulls, access-control readers, door closers, card locks, kick plates, and signage can either reinforce the design rhythm or break it completely.
For concealed doors, a minimal lever handle or recessed pull may be appropriate, provided it meets accessibility and operational requirements. A high-traffic office or hotel room may need more robust hardware, which should be treated as a deliberate accent rather than disguised unsuccessfully. In public spaces, clear signage and intuitive operation should take priority over visual invisibility.
Also examine the hardware from the user’s perspective. Does the handle sit comfortably at the correct height? Will the chosen finish show fingerprints? Can housekeeping staff clean around it easily? Is a concealed closer practical for the door weight and opening frequency? Integrated design should simplify the experience of the space, not make ordinary use frustrating.
Coordinate installation as a sequence, not a single task
Even a well-detailed integrated door and wall panels design coordination package can lose its quality through poor sequencing. The door opening, frame, wall substrate, panels, finishes, and hardware all depend on one another. Site teams need a shared reference point for finished floor level, finished wall plane, panel joint locations, and tolerance limits.
A practical sequence often includes verifying the opening and substrate, installing or setting the frame, checking plumb and level, preparing the panel support system, dry-fitting critical panels, completing finishing details, and finally fitting the door leaf and hardware. The exact order varies by system, but the principle remains the same: no component should be installed on assumptions that have not been checked.
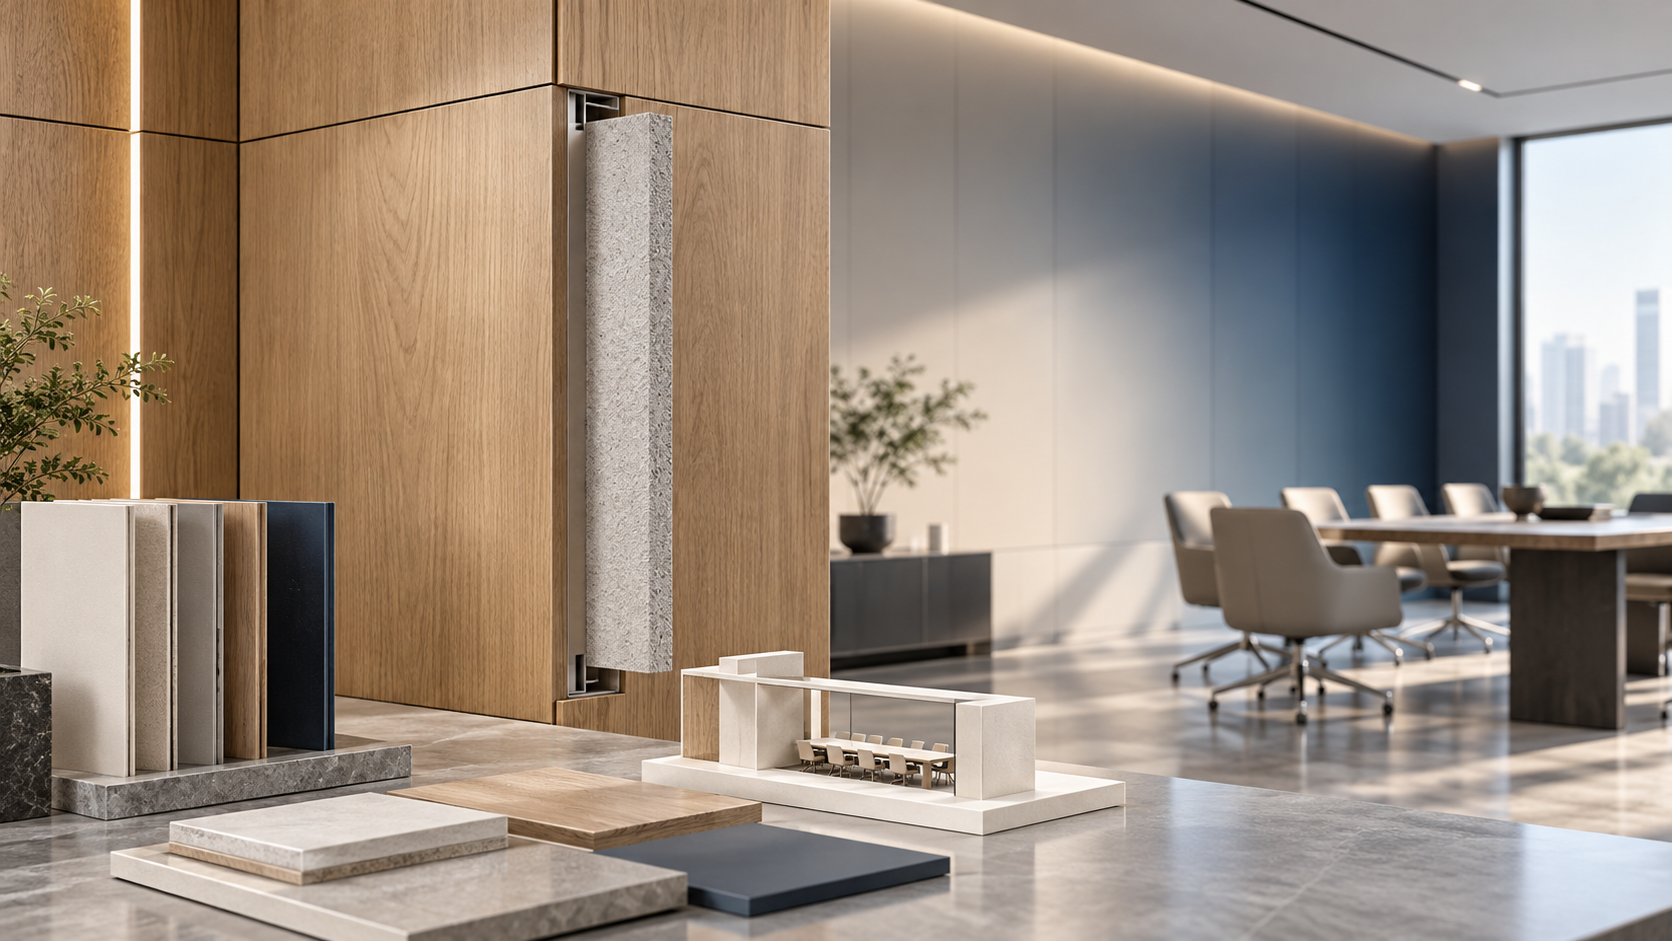
Mock-ups are especially valuable for prominent areas. A sample section containing the actual wall panel, frame, door edge, joint treatment, handle, and lighting condition can reveal issues that drawings cannot. It gives the design team a chance to assess tone variation, reveal proportions, door operation, and workmanship expectations before the same detail is repeated across many rooms.
Common coordination mistakes and how to avoid them
- Choosing the finish before confirming the system thickness. A finish may look suitable but leave insufficient room for framing, seals, or required hardware.
- Ignoring door swing and furniture clearance. Integrated doors still need practical opening space, especially near cabinets, beds, reception desks, and corridor traffic.
- Using wall panels to conceal service access without planning it. Access doors, electrical cabinets, and inspection points should follow the panel grid and remain serviceable.
- Mixing inconsistent edge details. Visible raw edges, unmatched trims, and varied joint widths make an integrated composition appear improvised.
- Overlooking replacement and repair. Consider whether a damaged panel or door face can be repaired or replaced without dismantling an entire wall elevation.
- Leaving fire and acoustic details to late-stage coordination. Performance requirements affect the door construction itself and cannot always be added after decorative decisions are complete.
Choosing a partner for coordinated wall and door solutions
Integrated systems benefit from suppliers and technical teams that understand both material appearance and construction reality. The conversation should cover more than finish samples. Ask about substrate requirements, panel dimensions, edge options, compatible sealing materials, maintenance guidance, fire-related applications, and the tolerances needed for a clean installation.
Shenyang Shengshi Meilin Technology Co., Ltd. develops new material applications alongside fireproof sealing materials, furniture, and home furnishing solutions. For projects where door faces, wall panels, and supporting details must work as one composition, this broader material perspective can be useful. Environmental considerations, safety, durability, and visual consistency are all part of the same specification conversation.
The best integrated door and wall panels do not demand attention through excessive detail. Their quality is felt in the absence of disruption: aligned joints, stable surfaces, comfortable operation, and transitions that make the room feel resolved. When design intent, material selection, and installation planning are coordinated from the beginning, the doorway becomes exactly what it should be—a natural part of the space.
RECOMMEND

Oct 11, 2026
Custom Composite Panel Design: Selecting Skins, Cores, and Fixing Methods
Custom Composite Panel Design guide: choose durable skins, high-performance cores, compatible bonds, and smart fixing methods for safer, longer-lasting decorative panels.
Oct 11, 2026
What Decorative Panel Design Services Should Include Before Fabrication Begins
Decorative Panel Design Services help turn concepts into fabrication-ready solutions with material guidance, fire planning, samples, drawings, cost control, and quality checks.
Oct 10, 2026
Choosing Spa Wall Panels for Humid Rooms, Hygiene, and Easy Maintenance
Spa Wall Panels for humid rooms: compare moisture resistance, hygiene, chemical durability, fire compliance, and easy-maintenance system details for lasting spa interiors.
Oct 10, 2026
Jewelry Store Wall Panels That Enhance Lighting, Security, and Luxury Displays
Jewelry Store Wall Panels: discover how refined finishes improve lighting, security integration, durability, and luxury displays for a polished retail experience.