


How Are Custom Veneer Panels Color-Matched for High-End Interiors?
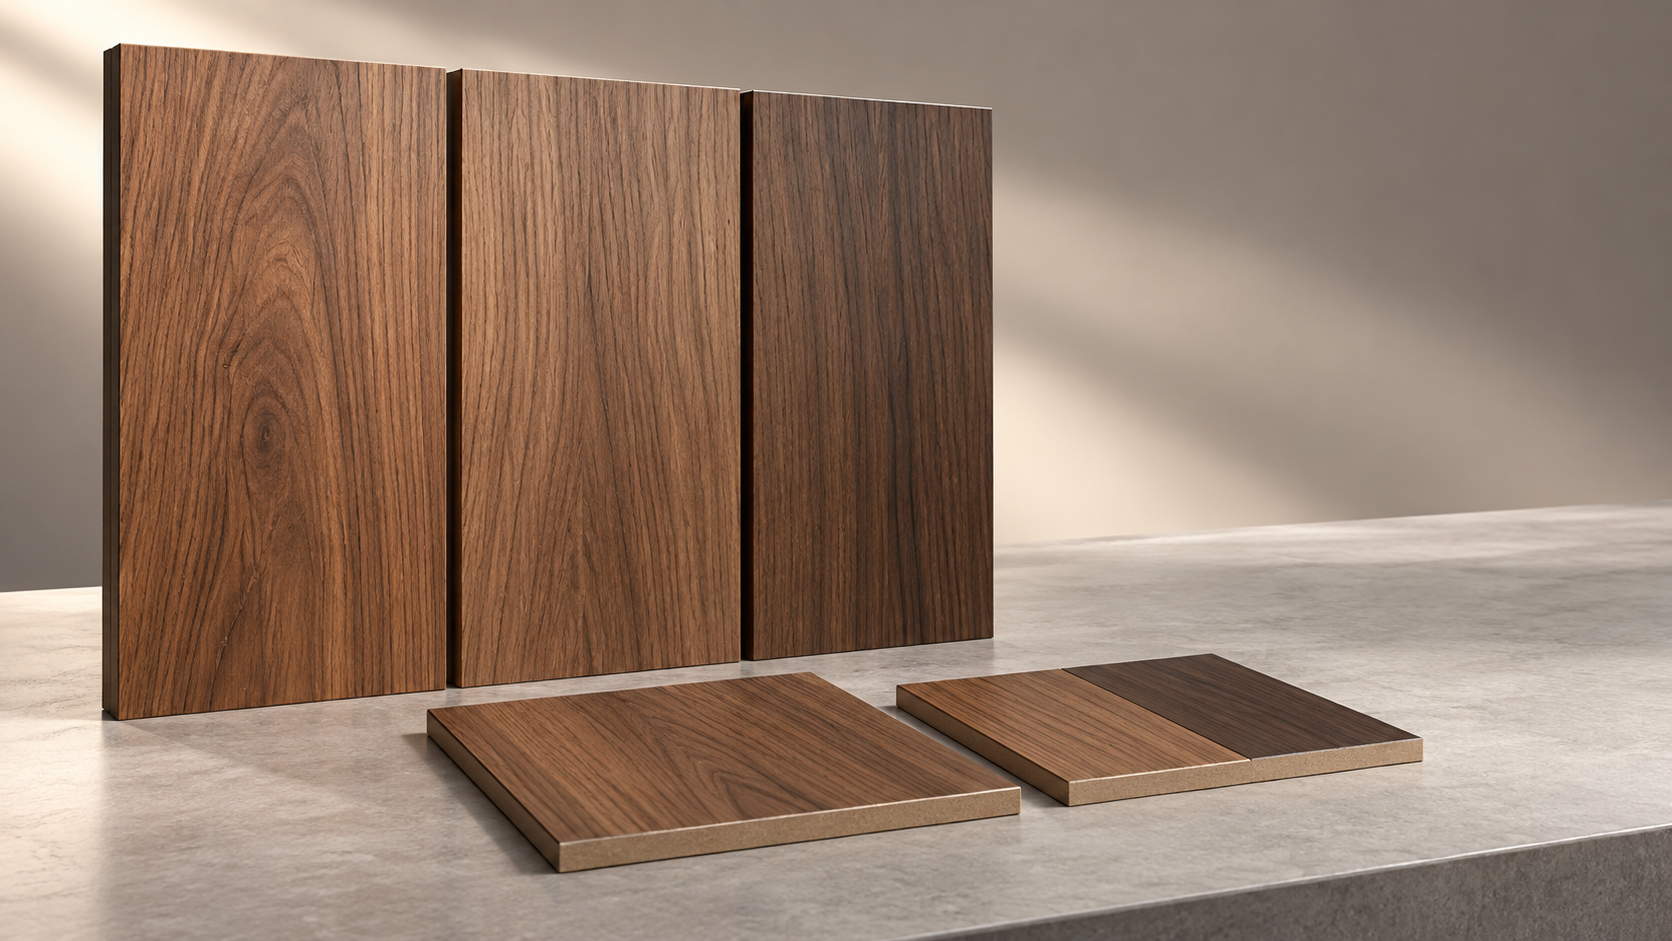
Custom veneer panels are color-matched by selecting compatible veneer, developing a finish on the actual panel construction, and approving the result under the lighting where it will be installed. The approved sample then becomes the reference for material selection, finishing, and production inspection. A stain formula alone cannot define the result: the wood beneath it, the surface preparation, and the clear coat all affect the color that reaches the eye.
For high-end interiors, a successful match preserves natural grain while controlling unwanted differences between adjoining surfaces. The first decision is whether the design requires a continuous, closely coordinated elevation or allows a broader range of natural variation. That distinction determines which veneer is acceptable and how tightly the finishing process must be controlled.
Define the reference before developing the color
A physical reference establishes a more reliable starting point than a photograph, screen image, or color name. “Smoked oak” and “warm walnut” describe broad appearances; neither identifies a reproducible finish. Digital images introduce additional uncertainty through camera exposure, white balance, display settings, and reflected light.
The reference should identify the desired undertone, lightness, grain visibility, and sheen. Two samples can have similar average brown color while looking quite different because one has gray pores and the other has amber highlights. A glossy reference also appears different from a matte interpretation, even when their underlying stain colors are close.
If the reference is an existing cabinet, floor, or antique surface, its age and finish condition matter. A protected area beneath hardware may differ from the exposed face. The chosen reference area must therefore be identified before matching begins. Otherwise, separate samples can each match a different part of the same object.
Approval needs both a target sample and an acceptable range. A central sample establishes the intended appearance; boundary samples show the lightest, darkest, or most strongly figured material permitted. This makes natural variation reviewable without implying that every panel will look identical.
Veneer selection sets the limits of the match
Wood species and the selected veneer batch influence the starting color, pore structure, and response to stain. A pale veneer with a yellow undertone requires a different treatment from one with a pink undertone, even when both are intended to reach the same neutral brown. Strong corrective coloring can reduce grain clarity, so choosing compatible raw material often produces a cleaner result than repeatedly adjusting the finish.
Heartwood and sapwood deserve particular attention. Their starting colors can differ substantially, and a transparent finish preserves much of that contrast. Where a uniform elevation is required, excluding conspicuous sapwood may be more effective than trying to conceal it with additional stain.
Cut and grain arrangement also change perceived color. Quarter-cut, rift-cut, and crown-cut veneers present different patterns and reflect light differently. Even successive leaves from one flitch—the sequence cut from a log section—are not visually interchangeable once their orientation changes.
Book matching illustrates this problem. Adjacent leaves are opened like pages, exposing alternating faces. Their fibers can reflect light differently, producing a light-dark effect often called barber poling. A pair that appears mismatched from one direction may become more balanced when viewed from another. Adding stain to the lighter-looking leaf can create an actual color mismatch without resolving the optical effect.
Slip matching keeps successive leaves in the same face orientation and can reduce this alternating appearance, although the repeating grain pattern differs from a book match. The matching arrangement should be settled before color approval, especially across long walls or adjoining cabinet fronts.
Develop samples on the intended panel construction
A loose veneer swatch is useful for initial selection, but final approval should use a bonded, sanded, fully finished panel. Bonding and pressing establish the surface that will actually receive the finish. Thin or pale veneer can also reveal substrate or adhesive-related differences, making a substitute construction an unreliable reference.
The sample needs to reproduce the intended veneer thickness, substrate, adhesive process, sanding sequence, and coating system. Glue bleed-through can locally block stain absorption or leave visible marks. Aggressive sanding can expose a different depth of wood, create uneven absorption, or cut through thin veneer. These defects require correction before coloring; extra stain rarely hides them cleanly.
Sanding consistency is especially important when the selected finish relies on absorption. A more finely sanded area can accept less color than a coarser area. Cross-grain scratches can collect pigment and become obvious only after staining. Sample records should therefore describe the preparation process alongside the color formula.
Small samples are suitable for narrowing color options. A larger mockup is needed to judge the selected finish across multiple leaves, joints, edges, and changes in plane. An acceptable hand sample can become visually busy when its grain contrast repeats across an entire wall.
Build the color with the right finishing sequence
Color matching usually develops through controlled trials rather than one large adjustment. The raw veneer is assessed first, then the colorant and coating sequence are adjusted to reach the reference. Different finishing materials affect different aspects of appearance:
- Dyes color the wood with relatively little particle buildup, helping retain grain clarity. Their performance and resistance to light vary with the selected chemistry.
- Pigmented stains emphasize pores and surface texture. On open-grained wood, they can produce pronounced contrast even when the overall tone is correct.
- A toner adds color within a coating layer, allowing restrained adjustment after the initial staining stage. Excessive toner can obscure natural variation and make the surface look painted.
- Sealers and clear topcoats influence depth, warmth, and sheen. Their appearance must be included in the approved sample.
The sequence matters. A stain applied directly to bare wood behaves differently from color applied over a sealed surface. Where uneven absorption causes blotching, a compatible conditioning or washcoat step can moderate uptake, but it also changes the color response. The complete finish must be redeveloped around that change.
Reactive treatments, including some smoked or chemically aged effects, introduce another variable: differences in wood chemistry can produce different colors within the same species. Approval must cover the treated veneer range rather than relying on an untreated sample or a nominal process recipe.
All comparisons should take place after the specified drying and curing period. Wet stain exaggerates depth, while a coating that is still drying can show temporary differences in haze or sheen. Comparing samples at different stages can lead to unnecessary corrections.
Evaluate lighting, sheen, and direction together
A veneer sample can match under one light source and separate visibly under another. This phenomenon, called metamerism, occurs when surfaces with different spectral responses appear similar under one illumination but different under another. It is especially relevant when matching different wood species, an existing finish, or solid wood trim to veneered panels.
Review should include representative project lighting and daylight where relevant. Similar color-temperature labels do not guarantee identical color rendering. The selected light source, surrounding materials, and viewing position all affect the judgment. A sample resting horizontally beneath a lamp does not represent the appearance of a vertical wall panel receiving light from the side.
Sheen needs a separate assessment. A smooth, reflective finish creates highlights that can make an area appear lighter; a matte surface scatters light differently. If the color looks correct away from reflections but wrong at a grazing angle, the cause may be surface texture, grain direction, or sheen rather than the stain formula.
Instrument readings help track drift, but they need a defined measurement method. Wood contains pores, bands, and directional grain, so readings from different locations can vary. The instrument geometry, aperture, measurement direction, and sampling locations must remain consistent. A numerical color difference is useful evidence, but an average reading can conceal a conspicuous dark streak or an awkward transition between neighboring panels.
Transfer the approved appearance into production
Once the finish is approved, the production reference should include the physical master, accepted variation samples, material identification, preparation details, coating sequence, and sheen. A formula without these supporting details leaves too many routes to a different appearance.
Production control must cover application as well as mixing. Colorant concentration, settling, spray overlap, wiping time, coating thickness, and drying conditions affect the result. A change in application equipment or panel orientation can alter coverage even when the same mixture is used. Comparison samples made during production help reveal drift before a complete elevation has been finished.
The retained master should be protected from unnecessary light exposure and handling. A shop sample left near a window can gradually change, creating a moving reference. Working samples allow routine comparison while the protected master remains available to resolve disagreements.
Panel sequence is equally important. Veneer selected for a coordinated wall should retain its planned order through cutting, finishing, packing, and installation. Clear identification on protected backs or packaging preserves the relationship between adjoining pieces. Rearranging panels on site can disrupt a carefully graded transition even though every individual panel falls within the approved range.
Resolve visible differences before installation is complete
A dry layout under representative lighting reveals problems that isolated inspection misses. Neighboring panels should be assessed together, including corners, returns, doors, and exposed edges. Solid wood lipping and veneer faces often absorb stain differently, so edge details need their own finishing trials. A face-only sample leaves that junction unresolved.
When a discrepancy appears, its behavior helps identify the cause. A light-dark relationship that reverses with viewing direction points toward grain reflectance. A fixed pale patch can indicate restricted absorption or a sanding difference. Color that agrees under daylight but separates beneath the installed lighting suggests a spectral mismatch. Treating all three as “too light” encourages the wrong repair.
Local touch-up is most suitable for limited defects. A broad toner correction across one panel can alter grain clarity or sheen relative to its neighbors. If correction requires rebuilding much of the finish, refinishing the complete face or replacing the panel may produce a more consistent result, subject to veneer thickness and coating compatibility.
Replacement material also needs comparison with the installed surfaces. Wood and coatings change with light exposure, so an original spare panel or retained formula does not guarantee a match years later. The current appearance of the surrounding panels becomes the practical reference, with any new finish assessed after curing under the same room lighting.
RECOMMEND

Oct 27, 2026
Are Aluminum Honeycomb Panels Moisture-Resistant Enough for Bathrooms?
Explore aluminum honeycomb panel moisture resistance for bathrooms. Learn how finishes, sealed edges, and waterproofing help you choose suitable panels for walls, ceilings, and showers.
Oct 27, 2026
How Are Custom Veneer Panels Color-Matched for High-End Interiors?
Explore custom veneer panels color matching for high-end design. Discover how veneer selection, finishes, and lighting create cohesive, luxurious interiors.
Oct 26, 2026
How Do You Choose Fire-Resistant Composite Panels for Commercial Use?
Choose fire resistant composite panels for commercial interior projects. Learn how to verify fire documentation, compare options, and avoid costly specification mistakes.
Oct 26, 2026
Are Meilin Board Custom Panels Suitable for Luxury Hotel Lobbies?
Explore Meilin Board custom decorative panels for luxury hotel lobbies. Discover design considerations and essential fire, emissions, and maintenance checks before specifying your project.