


How Do I Choose Wall Panels for a Temporary Exhibition?
Choose temporary exhibition wall panels by starting with the installation window, the number of times you expect to reuse them, and the finish your display needs. A lightweight modular system is often practical for repeated events, while a simple rigid panel may suit a one-off display with a straightforward layout. In either case, check the complete assembly for stability, venue fire requirements, transport constraints, and the ability to carry the items you plan to display.
A panel that looks attractive in a sample can become difficult to use when it is too large for the loading route, cannot support a screen, or requires finishing on site. Comparing the panel, frame, fixings, and dismantling method together helps prevent those problems before the exhibition opens.
Start with the exhibition conditions
Before comparing materials, establish what the wall must do. A backdrop for printed graphics has different demands from a partition carrying shelves, lighting, or equipment. Record the approximate wall dimensions, whether it will be freestanding or connected to an approved structure, and which faces will be visible to visitors.
Then work backward from the event schedule. A short setup window favors panels that arrive finished, use repeatable connections, and need little cutting. If the same display will travel to several venues, prioritize replaceable parts, protected edges, and a format that can be reconfigured. For a single event, a lower-cost panel may be reasonable even if it is less convenient to store and reuse.
Ask the venue or organizer for its exhibitor rules before committing to a material. These may cover wall height, permitted fixings, fire documentation, access routes, and whether a freestanding partition needs an approved base. A panel that meets your design brief but cannot be installed under venue conditions is not a workable choice.
Compare panel types by their practical trade-offs
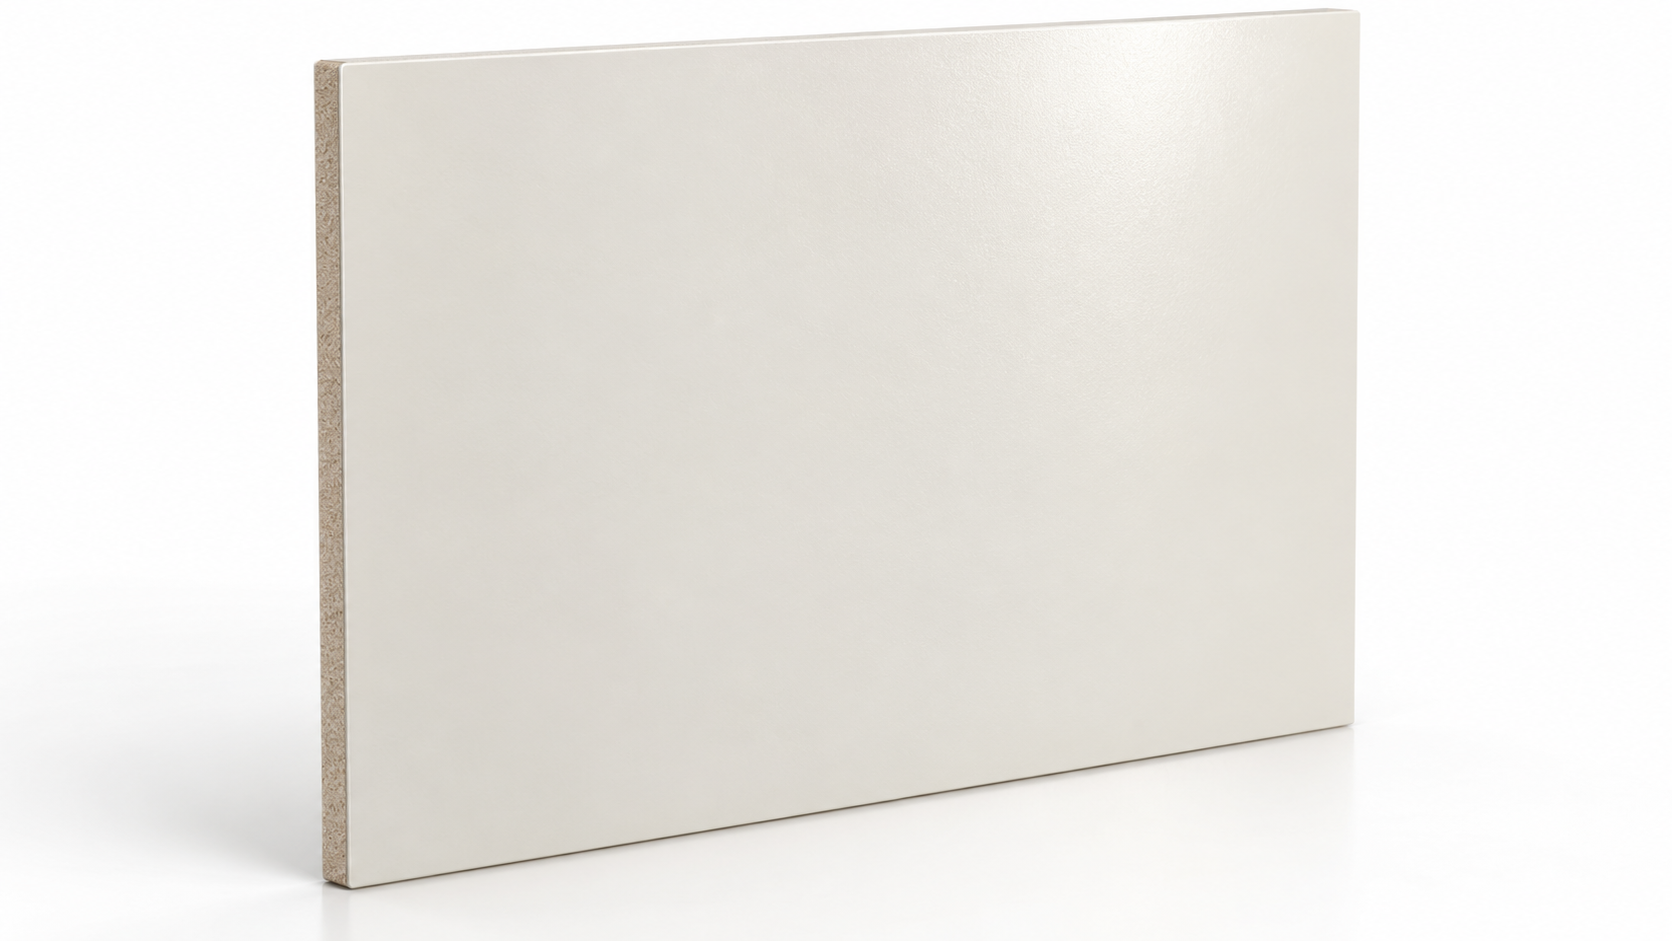
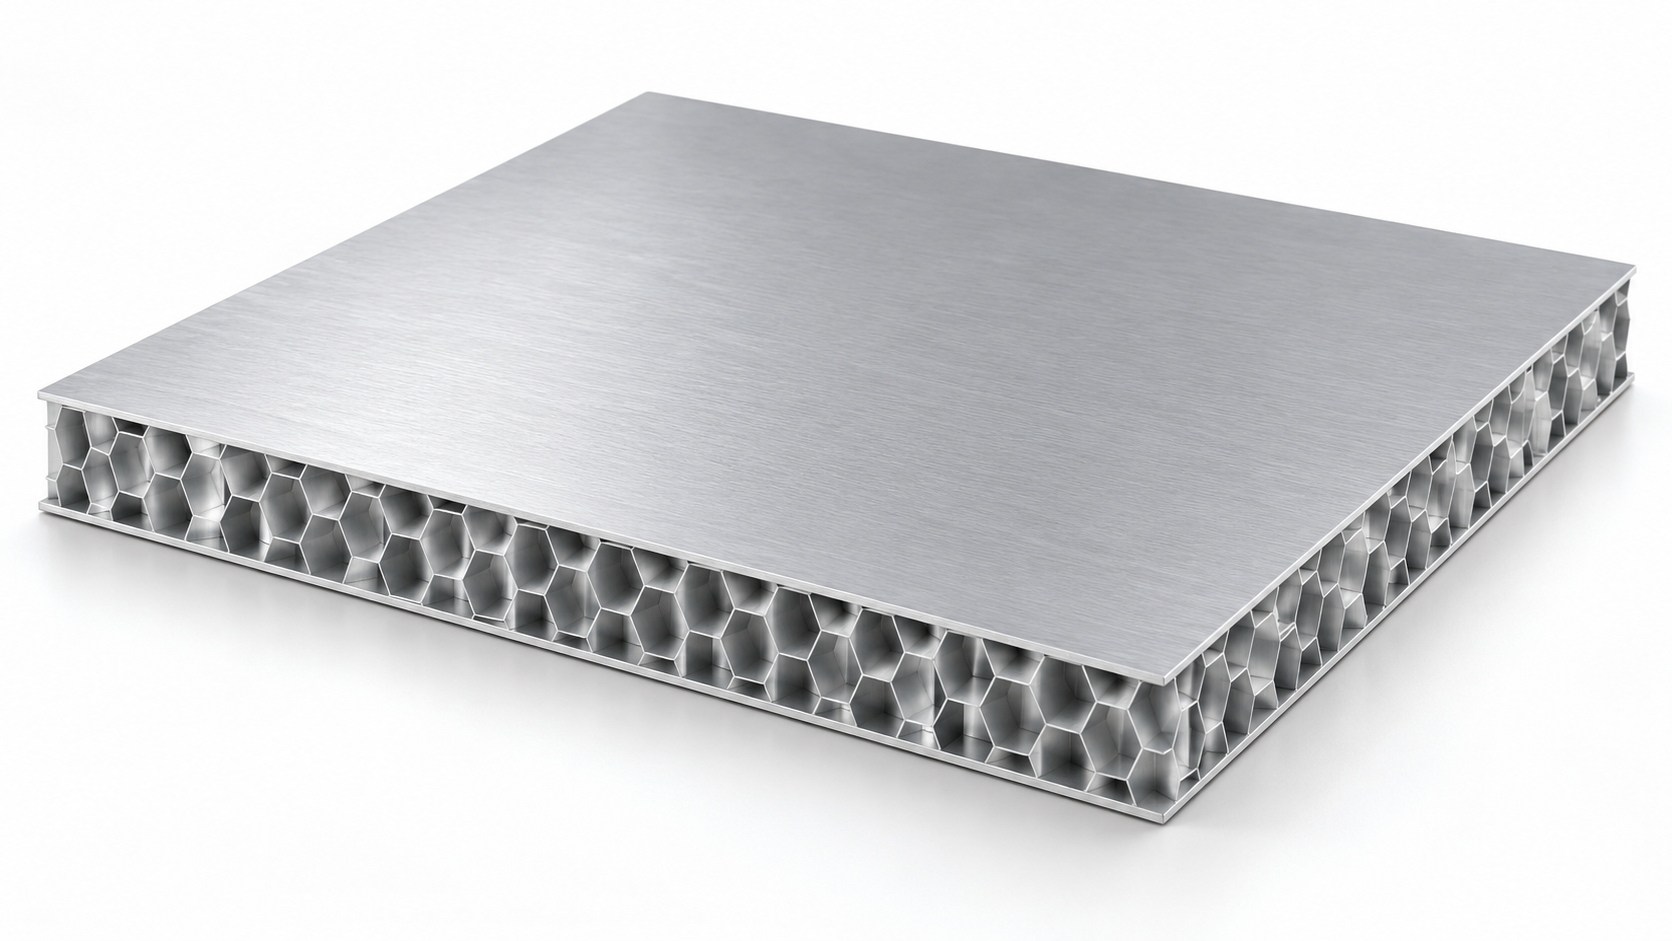
The names used for exhibition panels are not always precise. Ask what the facing, core, frame, and surface finish are made from; two panels described as “lightweight” can have very different strength and fire performance.
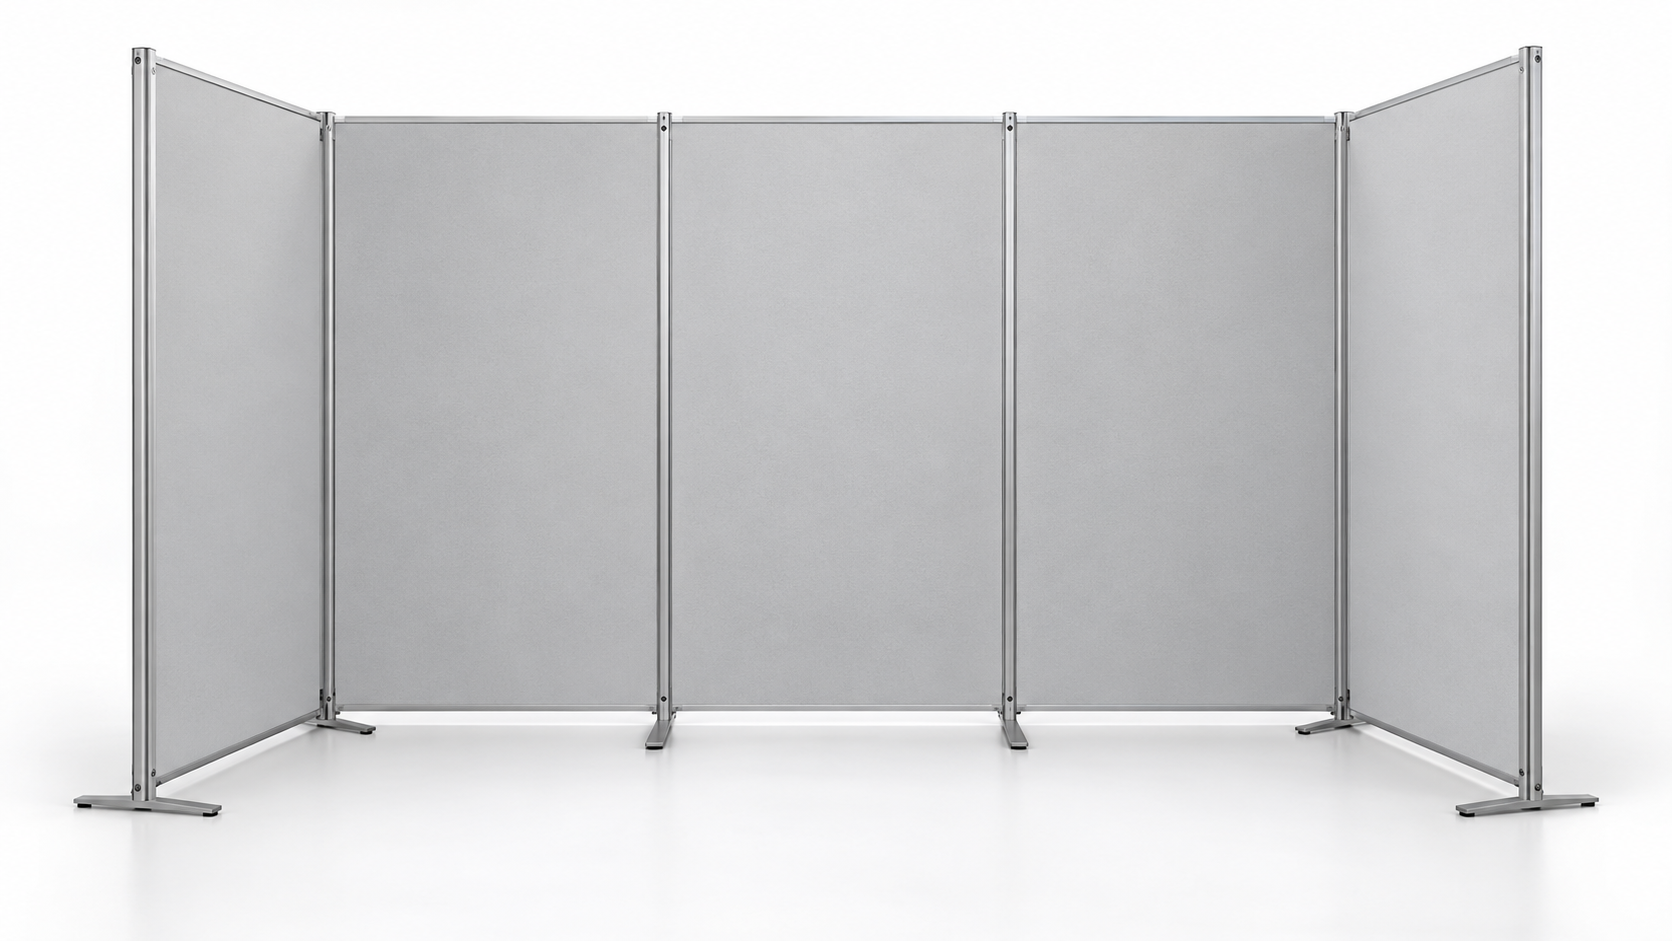
A fabric-covered frame is not equivalent to a solid wall: it may create the desired visual boundary but will not necessarily carry accessories or prevent people from reaching through. Likewise, a rigid sheet is not automatically a freestanding partition. It may still need a frame, feet, bracing, or connections to adjacent panels.
Decide how the wall will stand and what it will carry
Separate the weight of the display items from the weight of the panel itself. A light panel may be easy to lift but unsuitable for a monitor, brochure holder, or shelf. The relevant capacity depends on the complete assembly, including the frame, fasteners, connection points, base, and position of the load—not just the panel material.
Plan the location of heavier items before ordering. A screen can require a mounting rail or an independent support behind the wall; shelves may need reinforced attachment points. Avoid assuming that adhesive strips or screws driven into a thin facing will carry a load safely. Ask the supplier for the intended fixing method and documented load information for the proposed configuration. Where capacity is unknown, use a separate stand or have the assembly assessed by a qualified person.
Stability deserves the same attention. A long straight wall, a wall with a screen mounted high up, or a partition that visitors might lean against can place significant demands on its supports. Returns at the ends, suitable bases, or bracing may help, but the arrangement must fit the available floor area and venue rules. Do not rely on neighboring booths, venue walls, or overhead structures for support without permission.
Match the surface to the display
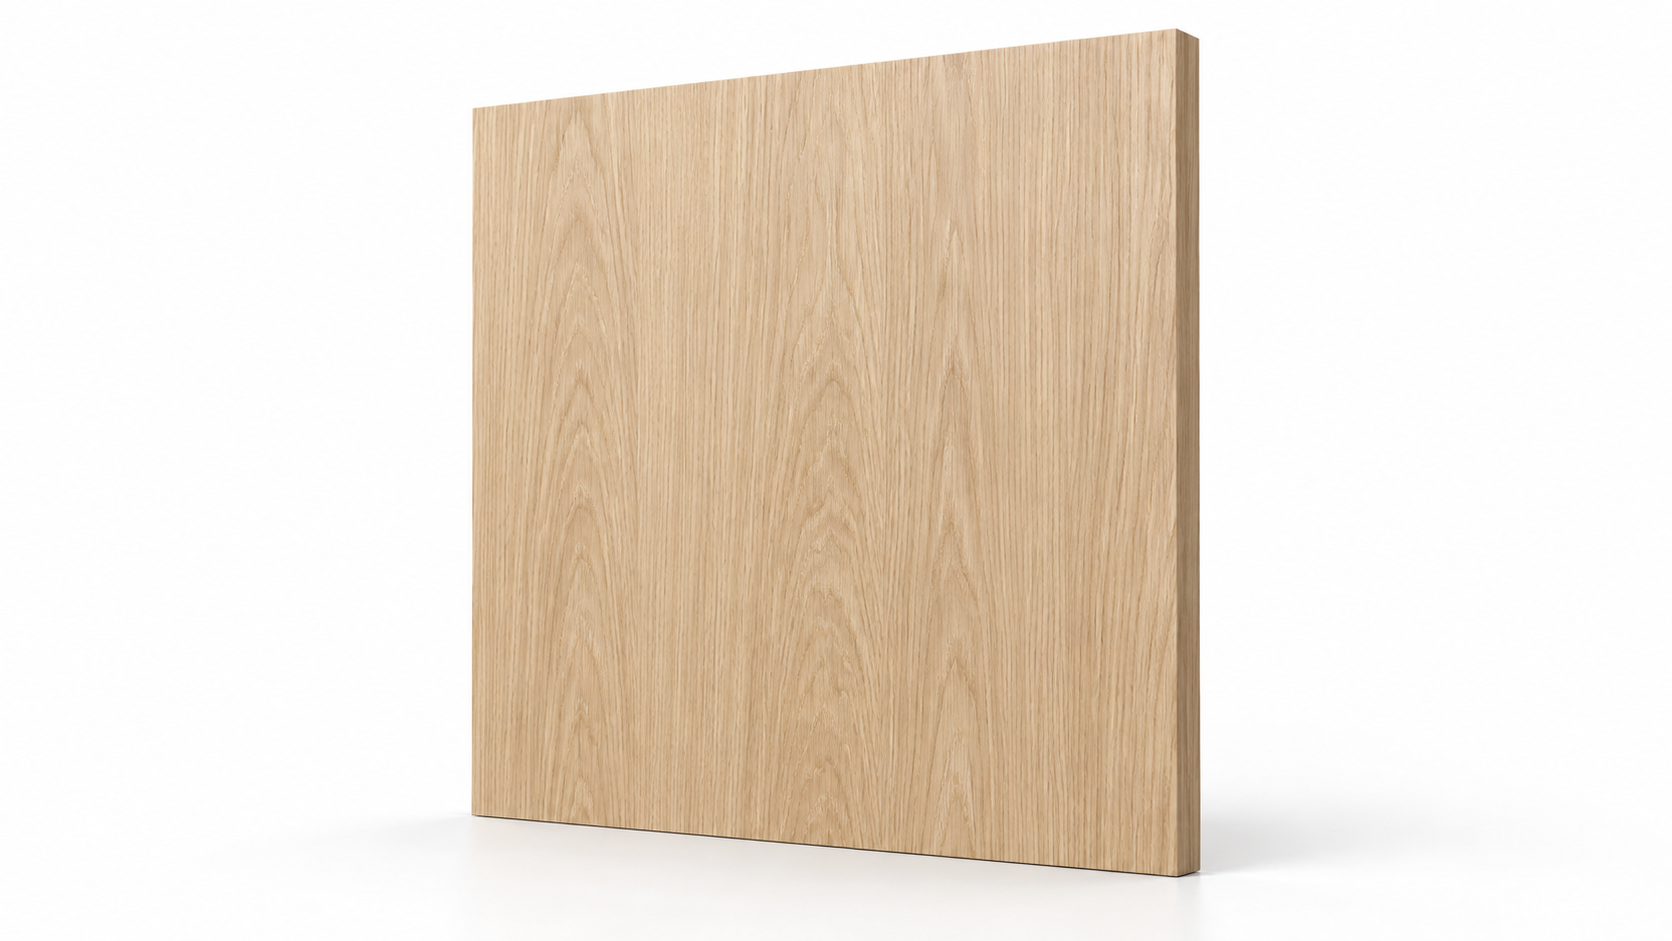
Begin with what visitors will see from the normal viewing distance. A seamless-looking graphic may be the priority for a branded backdrop; a painted or textured finish may be more appropriate behind objects where the wall should remain visually quiet. Ask for a sample with the actual finish rather than judging the core material alone.
Graphics, joints, and lighting
For printed panels, check how graphics are attached and replaced. Direct printing can produce a clean surface, but changing the message may require replacing or refinishing the panel. Removable graphic sheets or fabric skins can make updates easier, provided the frame and attachment system remain usable. Confirm whether adhesives may leave residue or damage the finish during removal.
Panel seams should be considered early, especially where text, faces, or product images cross a joint. Dividing artwork at natural breaks can make alignment easier. Under strong side lighting, uneven joints, glossy patches, and surface dents can become conspicuous, so review samples under lighting similar to the planned display when possible.
Wear and cleaning
Panels in public aisles or demonstration areas are more exposed to contact than panels behind a counter. Check whether the surface can be wiped clean, whether the finish shows fingerprints, and how readily corners or edges can be damaged during packing. A more durable facing may justify its extra weight when the wall will be used repeatedly.
Fire safety depends on the specified assembly
Do not choose a panel on the strength of a general description such as “fire resistant” or “fireproof.” Fire performance can depend on the product’s core, facing, coatings, thickness, and method of installation. Graphics, adhesives, fabric covers, and finishes added later may also affect what documentation is relevant.
Request the applicable test or classification documents for the exact product and intended use, then check them against the organizer’s requirements. Keep the documents available for review and confirm whether the complete wall assembly, rather than the panel alone, needs approval. Venue rules and applicable local requirements vary; the organizer or the appropriate qualified authority can clarify what evidence is acceptable.
Also consider the surrounding display. Keep access routes clear, respect restrictions around electrical equipment, and do not conceal required safety features behind the wall. A compliant panel does not make an otherwise unsuitable installation safe.
Account for setup, transport, and reuse
Compare the packed system as well as the installed wall. Measure the largest panel or case against doors, lifts, loading routes, and the vehicle available. Include frames, bases, fixings, tools, and protective packaging in the transport plan. A panel that one person can lift comfortably may still be awkward to maneuver because of its height or flexibility.
Review the assembly sequence before purchase. Are connectors captive or easily lost? Can panels be aligned without special tools? Does the system require cutting, painting, or drilling at the venue? For a short installation period, these details may matter more than a small difference in panel cost. Allow space and time for unpacking and for storing empty cases during the event.
For reuse, inspect the parts most likely to wear: corners, connection points, surface finishes, and graphic attachments. Ask whether damaged panels or individual connectors can be replaced without buying a complete set. Standardized dimensions can make rearrangement easier, but only if the available modules also fit the likely future layouts.
Compare costs across the intended use
The lowest panel price is not necessarily the lowest exhibition cost. Include the frame or supports, finishing, graphics, installation labor, transport, packaging, storage, repairs, and disposal or replacement. Some systems are supplied as complete kits; others quote the panel separately from the parts needed to make it stand.
For a one-off display, a custom sheet solution may be economical if it can be installed within the available time and disposed of through an appropriate local route. For a recurring exhibition program, reusable modular panels may reduce repeated fabrication, but storage and transport remain real costs. Compare both options using the same wall dimensions, finish, support arrangement, and expected number of uses.
When environmental impact is part of the decision, ask for material composition and end-of-life information rather than relying on a broad “eco-friendly” claim. A reusable panel only offers its intended benefit if it can be kept in service; a recyclable component may still be difficult to process when bonded to other materials. Check local collection options and whether graphics or hardware can be separated.
Make the final specification
Before placing an order, turn the preferred option into a written specification. Include panel dimensions and thickness, material and finish, frame and base arrangement, graphic method, connection details, intended loads, and the required fire documentation. State whether installation and dismantling accessories are included.
Where possible, examine a representative panel and its connection rather than only a flat finish sample. Check how the joint aligns, how the edge is protected, and whether the surface suits the planned lighting. For a complex wall or one carrying equipment, confirm the assembled configuration with the supplier and venue before fabrication. That final check is often where an attractive panel becomes a workable exhibition wall—or where a necessary change can still be made without disrupting setup.
RECOMMEND

Nov 01, 2026
Which Wall Panel Finish Is Easiest to Clean in a Jewelry Store?
Which wall panel finish is easiest to clean in a jewelry store? Compare laminate, glass and metal to find a low-maintenance finish that complements your displays.
Nov 01, 2026
How Do I Choose Wall Panels for a Temporary Exhibition?
How do I choose wall panels for a temporary exhibition? Compare materials, safety, setup and reuse to find the right display solution for your event.
Oct 31, 2026
Which Wall Panel Finish Works Best in a Sales Center?
Which wall panel finish works best in a sales center? Compare wood-look, stone-look and other finishes to create a welcoming, practical space.
Oct 31, 2026
How Much Does an Aluminum Honeycomb Panel Weigh?
Discover aluminum honeycomb panel weight, typical ranges, and easy calculation methods. Find the right panel for your project with practical supplier tips.