



How Do You Replace a Damaged Lightweight Wall Panel?
Replacing a damaged lightweight wall panel begins with identifying how it is attached. A panel held by visible screws may be removed independently; an interlocking decorative panel may require adjacent pieces to come off first; and a bonded panel may have to be cut away, with some repair to the surface behind it.
Before removal, check whether the panel is purely decorative or part of a fire-rated, moisture-protection, acoustic, or structural wall system. A replacement that looks the same may not preserve the wall’s original performance. If the panel’s role or the cause of the damage is uncertain, investigate before cutting.
Can the panel be replaced without disturbing the rest of the wall?
That depends on the material and installation system. Lightweight wall panels include thin decorative boards, PVC panels, composite panels, gypsum-based boards, and other products with different edges and fixing methods. The term “lightweight” does not identify a single construction method.
Start by examining the panel perimeter, corners, and any trim. Look for screw heads, cover strips, adhesive residue, tongue-and-groove joints, clips, or rails. A spare panel, installation record, or product label can help establish the material and fixing pattern. If one edge is already loose, inspect behind it without forcing the panel away from the wall.
Interlocking panels present a particular challenge. The damaged piece may be locked under the next panel, with its fasteners concealed by the joint. Depending on the system, removal may need to start at the nearest accessible edge and proceed across the wall. Cutting out the damaged piece alone can save surrounding finishes, but it may also remove the edge needed to secure the replacement. Check the manufacturer’s repair method before choosing that approach.
Surface damage does not always require replacement. A shallow dent or small scratch may be repairable with a filler or repair compound approved for the panel material. Replacement is more appropriate when a panel is split through, swollen, loose, or visibly distorted, or when the finish cannot be repaired to an acceptable appearance. Water-damaged panels should not simply be covered: the moisture source and the condition behind the panel need attention first.
What should be checked before removal?
Hidden services and wall construction matter more than the panel’s thickness. Electrical wiring, pipes, and other services may run behind a decorative finish. Do not cut near an outlet, switch, fixture, or suspected service route until it has been made safe and its location is understood. A detector can assist, but it should not be treated as proof that a wall cavity is empty. If electrical fittings must be disconnected, use a qualified electrician.
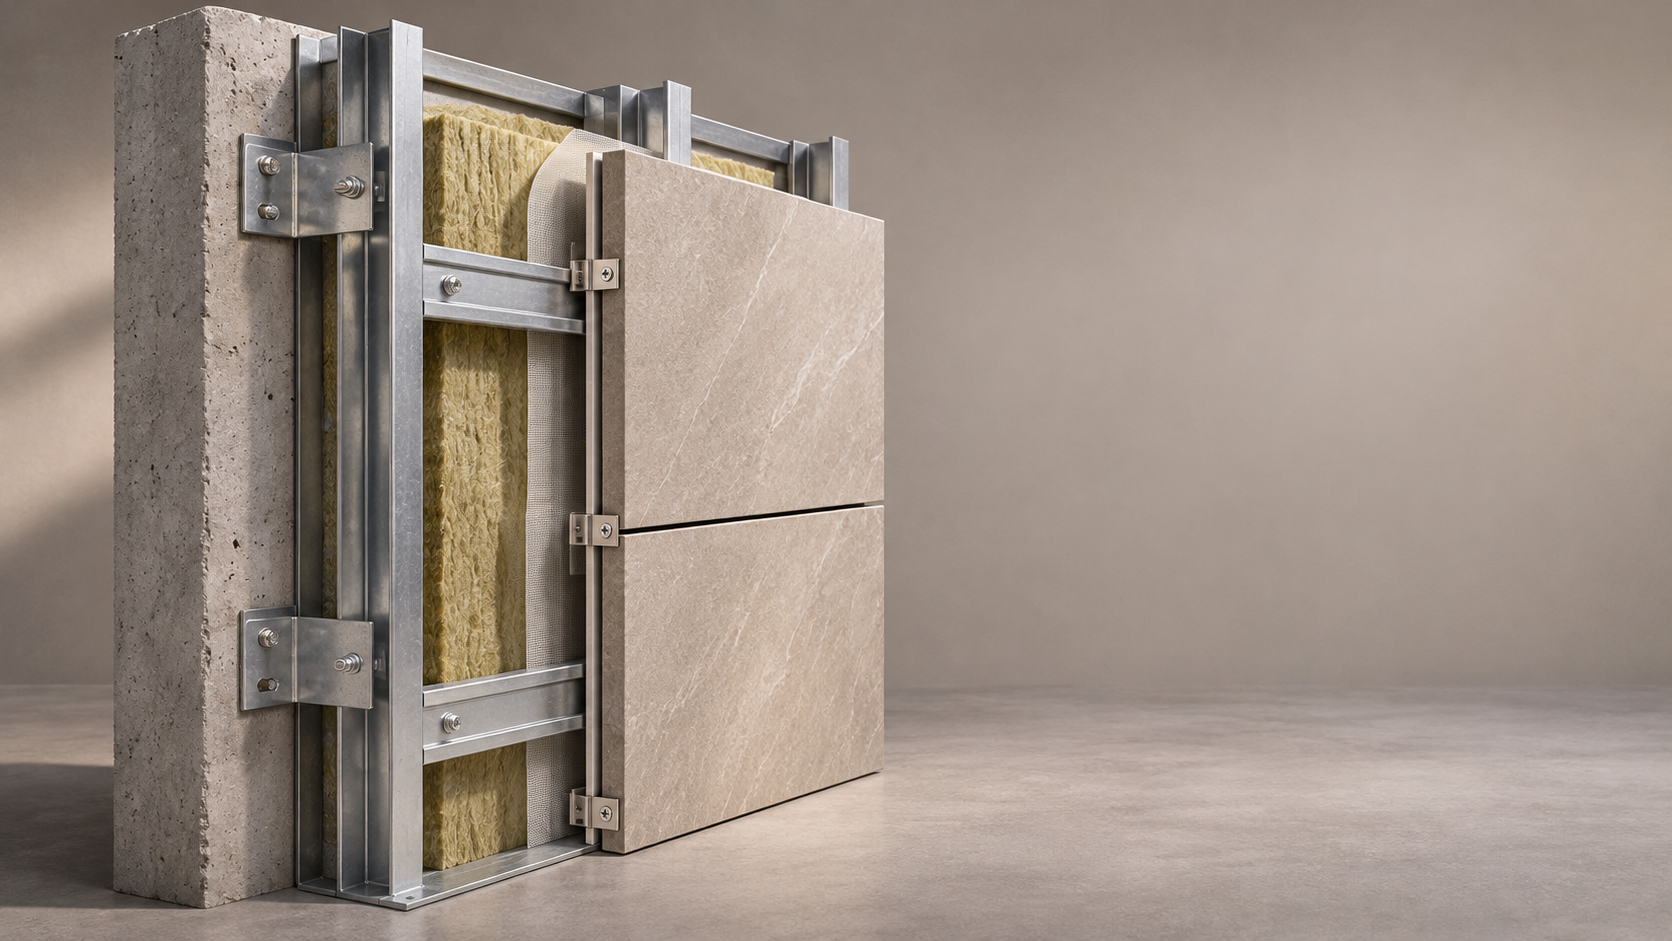
Also establish whether the panel is merely a finish or part of the wall assembly. Removing a decorative skin can expose a separate substrate; removing a gypsum-based board may open the wall itself. Fire-rated partitions, protected service penetrations, and walls with specified acoustic or moisture performance require compatible materials and details. Where the assembly cannot be identified or its rating must be maintained, consult the system documentation or a qualified professional.
For older or unidentified materials, do not sand, cut, or break the panel if hazardous material is suspected. Asbestos-containing materials, for example, require identification and handling under applicable local requirements. Stop work and arrange an appropriate assessment rather than relying on appearance.
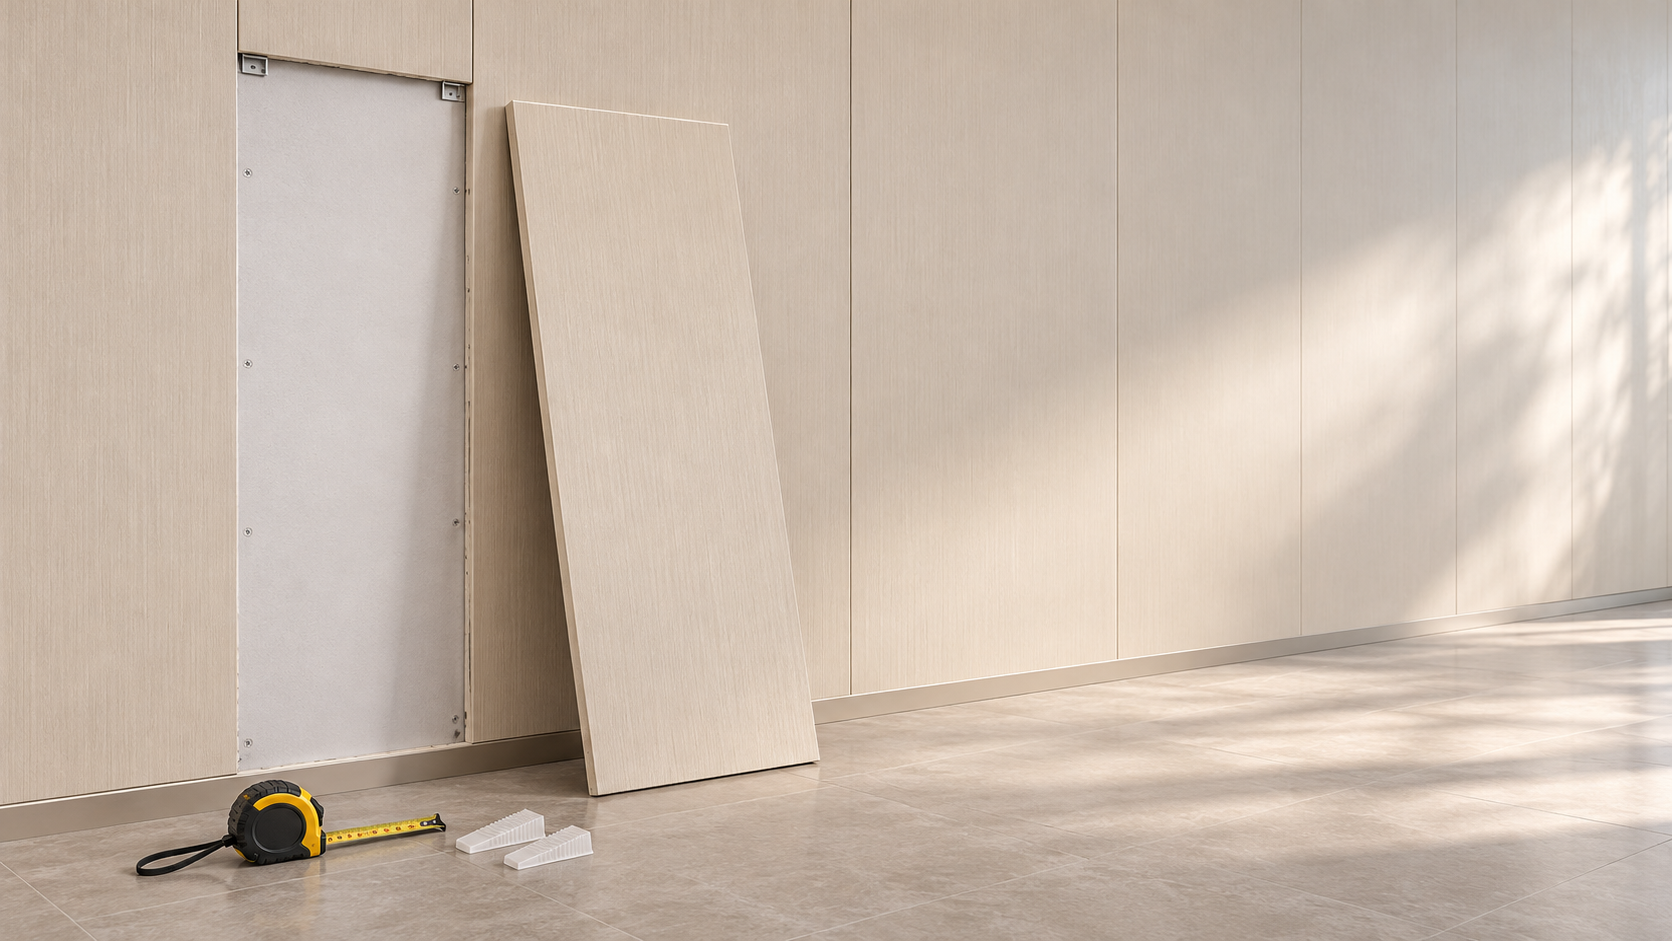
Wear eye protection and gloves, control dust, and ventilate the space as appropriate for the material and adhesive. A utility knife, screwdriver, straightedge, plastic wedges, putty knife, measuring tape, and suitable cutting tools cover many installations, but the tools should match the panel and fixing method. Avoid aggressive prying: the substrate and neighboring edges are often harder to restore than the panel itself.
How do you remove the damaged panel?
Protect the floor and adjacent finishes, then remove any accessible trim or cover strips. Keep reusable clips, screws, and profiles organized so their positions are clear during reinstallation. Photographing the joint and fixing arrangement before dismantling can help when the installation is not fully documented.
Screw-fixed or clip-fixed panels
Expose and remove the fasteners without enlarging the holes in reusable rails or studs. If clips hold the panel, release them in the direction specified for the system; pulling straight outward can bend a concealed clip or fracture an interlocking edge. Support the panel as the last fixings are released so it does not fall or pull on adjacent pieces.
Bonded panels
Score the joint sealant or finish around the panel where necessary, taking care not to cut into the substrate. Begin at an accessible edge and use a thin putty knife or wedge to separate the panel gradually. Work across the bonded area rather than levering against one small point.
If a rigid panel cannot be released intact, it may need to be cut into smaller sections. Set the cutting depth only after confirming what is behind it, and use the least intrusive method suitable for the material. Where the backing or services cannot be located reliably, do not make a blind cut.
Removing a bonded panel can damage paper facing, plaster, paint, or another surface beneath it. That does not automatically mean the whole wall needs replacement, but loose material must be removed and the substrate repaired before a new panel is attached. Do not bond a new panel over adhesive ridges or detached surface layers just to avoid preparation.
Interlocking panels
Identify the direction in which the panels were installed. If the exposed edge can be reached, remove trim and unlock the panels in reverse order until the damaged piece is free. Label adjacent panels if they need to be reused, particularly where the pattern or dimensions vary.
If access from an edge is impractical, ask whether the manufacturer permits a localized replacement. Some systems need a special repair clip or an altered joint; others cannot be patched securely without dismantling neighboring panels. A panel glued into a joint that was designed to move or engage mechanically can leave a visible misalignment or a weak connection.
What must be repaired behind the panel?
Once the panel is removed, inspect the exposed area before measuring for the replacement. Check that the substrate or framing is sound, dry, clean, and sufficiently flat for the chosen fixing method. Look for loose fasteners, damaged framing, crumbling board edges, staining, and indications that water has traveled beyond the visible damage.
If moisture caused swelling or delamination, locate and correct the source before closing the wall. A dry-looking surface alone does not establish that concealed materials have dried adequately. Extensive dampness, mold growth, or damaged insulation may require a wider inspection and appropriate remediation. Replacing the visible panel while trapping moisture can lead to another failure.
Repair substrate damage with materials compatible with the wall and the replacement panel. Where a section of board has been removed, the new piece may need proper edge support and fastening to framing or approved backing. Do not add screws, backing pieces, sealants, or fillers to a rated assembly on the assumption that any secure-looking repair is equivalent to the original construction; follow the applicable tested or approved system details.
For adhesive-fixed finishes, remove loose residue and high spots without damaging sound backing. Whether old adhesive must be completely removed depends on the new adhesive and the condition of the surface. Follow its preparation and priming instructions, including any substrate moisture restrictions. Solvents and heat can damage finishes or create safety hazards, so they should not be used merely to speed removal.
How do you choose and cut a replacement panel?
The closest match is generally the original product in the same thickness, profile, and finish. Check the manufacturer, product code, dimensions, edge detail, and fixing system where available. A panel with the correct face width but a different tongue, groove, clip position, or thickness may not sit flush with the surrounding wall.
Appearance can also vary between production batches or after exposure to light and cleaning. Compare the replacement with adjacent panels under the room’s normal lighting before cutting it. If an exact match is unavailable, replacing a complete visually bounded section may give a more consistent result than placing one noticeably different panel in the middle of a wall.
For walls with specified fire, acoustic, impact, or moisture requirements, match the required assembly performance—not just a claim printed on an individual panel. The substrate, fixings, joints, and sealants can all affect the finished wall. Obtain the relevant system documentation if that performance must be maintained.
Measure the opening at several points: walls and existing panels are not always perfectly square. Transfer the measurements to the replacement, accounting for the joint or movement gaps specified for that product. Do not assume a tight friction fit is desirable; some materials expand and contract with temperature or humidity. Equally, an oversized gap may prevent the joint or trim from covering the cut edge.
Cut with a blade or saw appropriate to the panel material and finish. Support the panel to limit vibration and edge damage, and follow the manufacturer’s guidance on cutting direction and dust control. Mark and cut openings for fittings only after their positions have been confirmed and the services made safe. Dry-fit the piece before applying adhesive or installing final fasteners.
How is the new panel installed and finished?
Install the replacement using the fixing method specified for that panel system. For a mechanically fixed panel, confirm that the support points and fasteners align with the existing framework. Avoid overtightening screws, which can distort a thin panel or damage its face. For a clipped or interlocking system, engage the edges in the correct sequence and check that the face sits level with neighboring panels.
For a bonded panel, use an adhesive approved for both the panel and substrate. Apply it in the specified pattern and quantity; more adhesive is not necessarily better if it prevents the panel from sitting flat or curing as intended. Press the panel into position and provide temporary support if required. Observe the adhesive manufacturer’s instructions for working time, ventilation, and curing before loading the surface or replacing fittings.
Reinstall trim and use only the joint treatment appropriate to the application. A decorative gap, a wet-area seal, and a fire-rated joint do not have interchangeable sealant requirements. In a wet area, restore the complete water-management detail rather than relying on a surface bead of sealant alone. Where the panel is part of a rated wall, the joint treatment must be compatible with the documented assembly.
Before considering the repair complete, check the panel for movement, uneven joints, proud edges, and visible adhesive. Confirm that trim is secure and that any electrical fittings have been safely reinstated. Keep the product and adhesive details for future maintenance; they make the next repair easier to match and help establish what was installed behind the finished surface.
When is professional replacement the safer choice?
Bring in a suitably qualified contractor when the damaged panel forms part of a structural or fire-rated assembly, when wiring or plumbing must be altered, or when concealed moisture damage extends beyond the visible area. The same applies if the panel material is unidentified and hazardous content is suspected, or if the manufacturer’s fixing method cannot be determined without destructive investigation.
A successful replacement is not simply a panel that looks flat on the day it is installed. It should be securely fixed, compatible with the surrounding wall, and installed over a sound substrate, with any required protective function restored.
RECOMMEND

Nov 09, 2026
Can a Fire-Rated Composite Panel Have a Wood Finish?
Can a fire rated composite panel have a wood finish? Discover wood-look options, fire classifications, and expert tips for choosing the right panel.
Nov 09, 2026
How Do You Replace a Damaged Lightweight Wall Panel?
How do I replace a damaged lightweight wall panel? Learn safe removal, substrate repair, and installation steps for a seamless, lasting result.
Nov 08, 2026
Can Lightweight Decorative Panels Be Installed on Existing Walls?
Can lightweight decorative panels be installed on existing walls? Discover which surfaces are suitable and how to prepare and fix panels for a lasting finish.
Nov 08, 2026
Does a Fire-Rated Panel System Need Separate Testing?
Does a fire rated panel need a separate test for its installed system? Discover when assembly evidence is required and how to verify your design.