



Can Lightweight Decorative Panels Be Installed on Existing Walls?
Can lightweight decorative panels be installed on existing walls? Yes, in many cases they can. A painted wall, sound plaster surface or suitable tiled wall may provide a base for a new decorative finish without removing the entire existing surface. The deciding factors are whether the wall is stable, dry and sufficiently even, and whether the panel and fixing method are compatible with it.
The distinction matters when a room needs a quick visual update: a panel may hide an unattractive finish, but it will not repair loose plaster or stop moisture behind the wall. Installing over those problems can leave the new surface lifting, uneven or difficult to repair later.
Is the existing wall ready to carry panels?
Start by assessing the wall itself rather than choosing an adhesive first. Lightweight panels still transfer their weight and any impact on the finished surface to the material beneath them. A sound-looking top layer is not enough if the layers behind it are detached.
Press gently across the surface and look for movement, crumbling edges, cracks, peeling paint or areas that sound hollow when tapped. A hollow sound does not always mean failure, but it warrants a closer look, particularly if the surface also flexes or has visible cracks. Remove loose material and repair the underlying wall before covering it. Large areas of detached plaster, damaged drywall or suspected structural movement need an appropriate repair rather than a cosmetic patch.
Check for moisture marks, soft material, a musty smell or recurring condensation. Find and correct the source, then allow the wall to dry before installation. Covering dampness can make the problem harder to see and may affect adhesion. In a bathroom or another humid space, both the panels and the complete installation system must be suitable for that exposure; a decorative face alone does not make a wall waterproof.
Finally, place a straightedge against the wall in several directions. Small variations may be manageable, depending on the panel and adhesive instructions. Pronounced humps, depressions or twisting can leave gaps, distort joints or prevent the panel from sitting properly. Level the surface where practical or consider a suitable batten system instead of trying to fill large voids with adhesive.
Which existing surfaces can be covered?
Compatibility depends on more than the name of the surface. Its condition, finish and bond to the substrate all matter.
- Painted drywall or plaster: Often suitable when firm, dry and clean. Glossy paint may need preparation for the selected adhesive, but sanding should not be assumed safe for an unknown older coating.
- Wallpaper: Usually a poor layer to rely on for direct adhesion because the paper or its paste may release. Remove it and prepare the wall beneath unless the panel system specifically permits installation over it.
- Ceramic tile: Possible with a compatible system when tiles are secure and the surface is clean. Gloss, grout recesses and uneven tiles can affect contact. Loose tiles should be removed or repaired first.
- Wood or existing paneling: May work if securely fixed, dry and sufficiently flat. Check for movement, loose boards and finishes that could interfere with adhesion. Thin or flexible existing paneling may not provide reliable support.
- Exposed masonry or concrete: Can be suitable when cured, dry and sound, but roughness and porosity may call for preparation, a compatible primer or a different fixing method.
Clean off dust, grease, soap residue and other contaminants using a method appropriate to the wall. Let the surface dry fully. If a primer is specified, use the type recommended for both the substrate and adhesive; an unsuitable primer can create another weak layer rather than improve the bond.
Adhesive, mechanical fixings or battens?
Direct adhesion is often the least disruptive option on a flat, stable wall. It avoids a framework and can keep the finished surface relatively close to the original wall. Choose an adhesive approved for the panel material and the existing substrate, and follow its instructions for coverage, application pattern and curing. Some combinations require temporary support while the adhesive sets; others may not be suitable for nonporous surfaces or damp locations.
Mechanical fixings, such as screws or clips, can be useful when the panel system is designed for them or when a removable installation is desirable. The fixing must engage a suitable substrate or framing member, not just a fragile finish. Use the specified fastener type, spacing and edge distances so that the panel is held securely without cracking or buckling. Fixings may remain visible unless the system includes a concealed method.
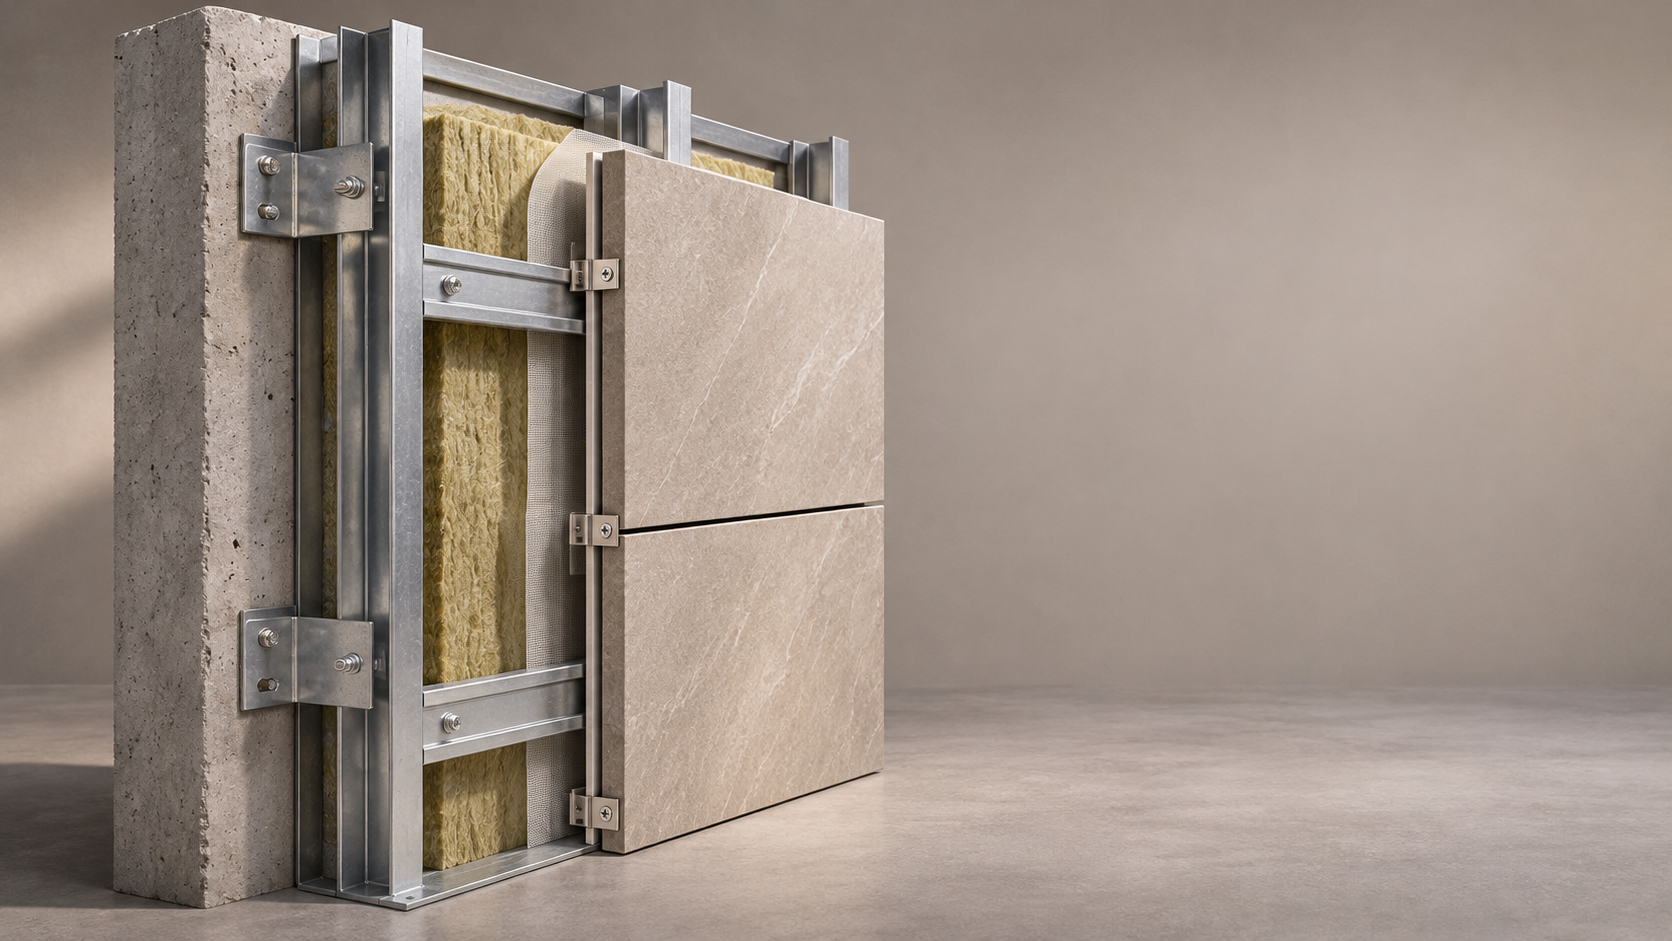
Battens or furring strips can provide a flatter fixing plane over an uneven wall, provided the underlying wall can securely support the framework. They add depth and can complicate treatment around doors, sockets and trim. They also do not solve active dampness. Follow the panel manufacturer’s requirements for support spacing and orientation; thin panels may flex if the supports are too far apart.
These methods are not interchangeable for every product. A panel intended for clips may have different edge details or movement allowances from one intended for bonding. Do not assume that a stronger adhesive or more screws will compensate for a fixing method the panel was not designed to use.
How should the installation be planned?
Measure the full wall, including its height at more than one point. Floors, ceilings and corners are not always level or square. Work out where panel joints will fall and whether narrow pieces will be needed at an edge. A layout with balanced cuts is often easier to finish neatly than one that leaves a thin strip at the end.
Before cutting, check the panel instructions for storage, acclimation, cutting direction and the tools required. Some materials change dimension with temperature or humidity. Leave the clearances specified by the manufacturer at edges, joints and fixed objects; filling every gap tightly can cause movement-related distortion. Do not invent an expansion gap if the system uses a different joint design.
Plan around doors, skirting, window reveals and existing trim. Adding a panel changes the wall’s finished depth, so a cover plate or piece of molding may no longer sit as it did before. Electrical outlets and switches require particular care: isolate power before working nearby, and do not bury boxes or improvise extensions. Where adjustments to electrical fittings are needed, use a qualified electrician and follow applicable local requirements.
Locate concealed wiring and pipes before drilling or driving fixings. A detector can help identify likely hazards, but uncertain locations should be investigated before the wall is penetrated. The same caution applies when attaching battens.
A practical installation sequence
- Prepare and inspect. Complete repairs, clean the wall and confirm it is dry. Remove or adjust trim only where the installation plan requires it.
- Mark the layout. Establish a level or plumb reference line rather than assuming the floor or corner is straight. Mark joints and openings before committing to cuts.
- Test the fit. Dry-fit the first panel and check edges, clearances and the position of any cutouts. Confirm that the chosen trim can cover the intended edges without restricting required movement.
- Fix according to the system. Apply the specified adhesive or install the prescribed fasteners and supports. Maintain the required contact and temporary bracing, if any, during curing.
- Continue across the wall. Check alignment as each panel is installed. Keep joints consistent and avoid forcing pieces into place to conceal an out-of-square wall.
- Finish after the panels are secure. Fit compatible trims and seal joints only where the system calls for sealant. Observe curing times before cleaning, loading or exposing the surface to moisture.
A small trial area can be useful when adhesion to an existing finish is uncertain. It can reveal issues with application or surface preparation, but it is not a substitute for the adhesive manufacturer’s compatibility requirements or a way to prove that a concealed weak layer is sound.
What can go wrong after installation?
Edges that lift soon after fitting may point to dust, an incompatible finish, insufficient adhesive contact or movement before the adhesive cured. Inspect the affected area rather than simply adding adhesive at the visible edge: the panel may need to be removed so the substrate and fixing can be corrected.
Open or uneven joints can result from an inaccurate layout, a wall that is out of plane, inadequate support or movement where clearances were not respected. A flexible panel may follow a wavy wall, while a more rigid panel may bridge low spots and lose contact. In either case, the remedy depends on the cause; decorative filler should not be used to disguise a panel that is moving or inadequately fixed.
Other questions before covering a wall
Can panels be installed over cracks?
Small, stable surface cracks may be repairable before installation, but a panel should not be used to conceal a crack that is widening, recurring or accompanied by movement. Establish the cause first. A flexible finish or joint may be necessary where normal movement is expected, subject to the panel system’s instructions.
Can panels be removed later without damaging the wall?
Sometimes, but it depends on the fixing. Adhesive can pull away paint, paper facing or plaster when a panel is removed. Screws and clips generally leave holes, and the panels themselves may not be reusable. If reversibility matters, select a system intended for mechanical fixing and consider how the holes and trim will be repaired.
Can a decorative panel be placed behind a stove or near a fireplace?
Not unless the particular panel and its installation are suitable for the temperatures, clearances and exposure involved. Lightweight and decorative do not mean heat-resistant or noncombustible. Check the appliance instructions, the panel’s documented properties and applicable local requirements before selecting a material for the area.
Will covering the wall affect its fire performance?
It can. A new panel, adhesive, cavity or support framework may change how the wall assembly performs. Where a wall must meet a specified fire requirement, verify the complete proposed assembly rather than relying on the appearance or general material description of the panel. Do not cover access points or compromise existing fire seals in the process.
Next:No more content
RECOMMEND

Nov 08, 2026
Can Lightweight Decorative Panels Be Installed on Existing Walls?
Can lightweight decorative panels be installed on existing walls? Discover which surfaces are suitable and how to prepare and fix panels for a lasting finish.
Nov 08, 2026
Does a Fire-Rated Panel System Need Separate Testing?
Does a fire rated panel need a separate test for its installed system? Discover when assembly evidence is required and how to verify your design.
Nov 07, 2026
5mm vs 8mm Wall Panel Thickness: Which Thickness Fits Your Project?
Choosing between 5mm and 8mm wall panel thickness is not about which number is better — it is about what the wall has to do. Thickness changes three things: how flat a panel stays over an unsupported span, how it is handled and detailed at edges, and how much substrate the wall needs behind it. Here is how the decision actually breaks down, with the 5mm side backed by documented product data and the 8mm side framed as general engineering logic you should confirm against any supplier's test reports.
Nov 06, 2026
How Does a Custom Wall Panel Go from Drawings to Installation?
Explore the five stages of a custom wall panel project, from concept review and shop drawings to mock-up approval, production and installation. Learn where to check dimensions, finishes and details to avoid costly site changes.