



How Do You Repair a Scratch on a Stone-Look Panel?
A scratch on a stone-look panel can interrupt an otherwise seamless finish, but it does not always mean the panel needs replacing. If you are wondering, “How do I repair a scratch on a stone look panel?”, the answer depends on what the panel is made of, how its surface is finished, and how deeply the damage runs. A faint mark on a protective coating calls for a different approach from a gouge that exposes the core.
The most important step is to identify the surface before reaching for a polishing pad or filler. Stone-look panels can imitate marble, granite, or other natural materials without sharing their repair properties. The wrong treatment can turn a narrow scratch into a larger dull patch that is harder to disguise.
Start by identifying the panel and the damage
“Stone-look” describes an appearance, not a single material. Your panel may have a printed decorative film, a laminated surface, a resin-based finish, or a mineral-rich composition. Some products have a clear protective layer over the pattern; others have color or texture extending further into the material. Check the product information, an installation record, or a spare offcut if one is available.
If you cannot identify the panel, contact the supplier before using abrasives, solvents, heat, or a repair compound. For a general answer, it helps to describe where the panel is installed and whether the finish is glossy, matte, textured, or metallic. These details affect both the repair method and how visible the result may be.
Examine the mark in good light and gently run a clean fingernail across it:
- Surface residue: A dark streak from a shoe, piece of furniture, or metal object may sit on top of the finish rather than cut into it.
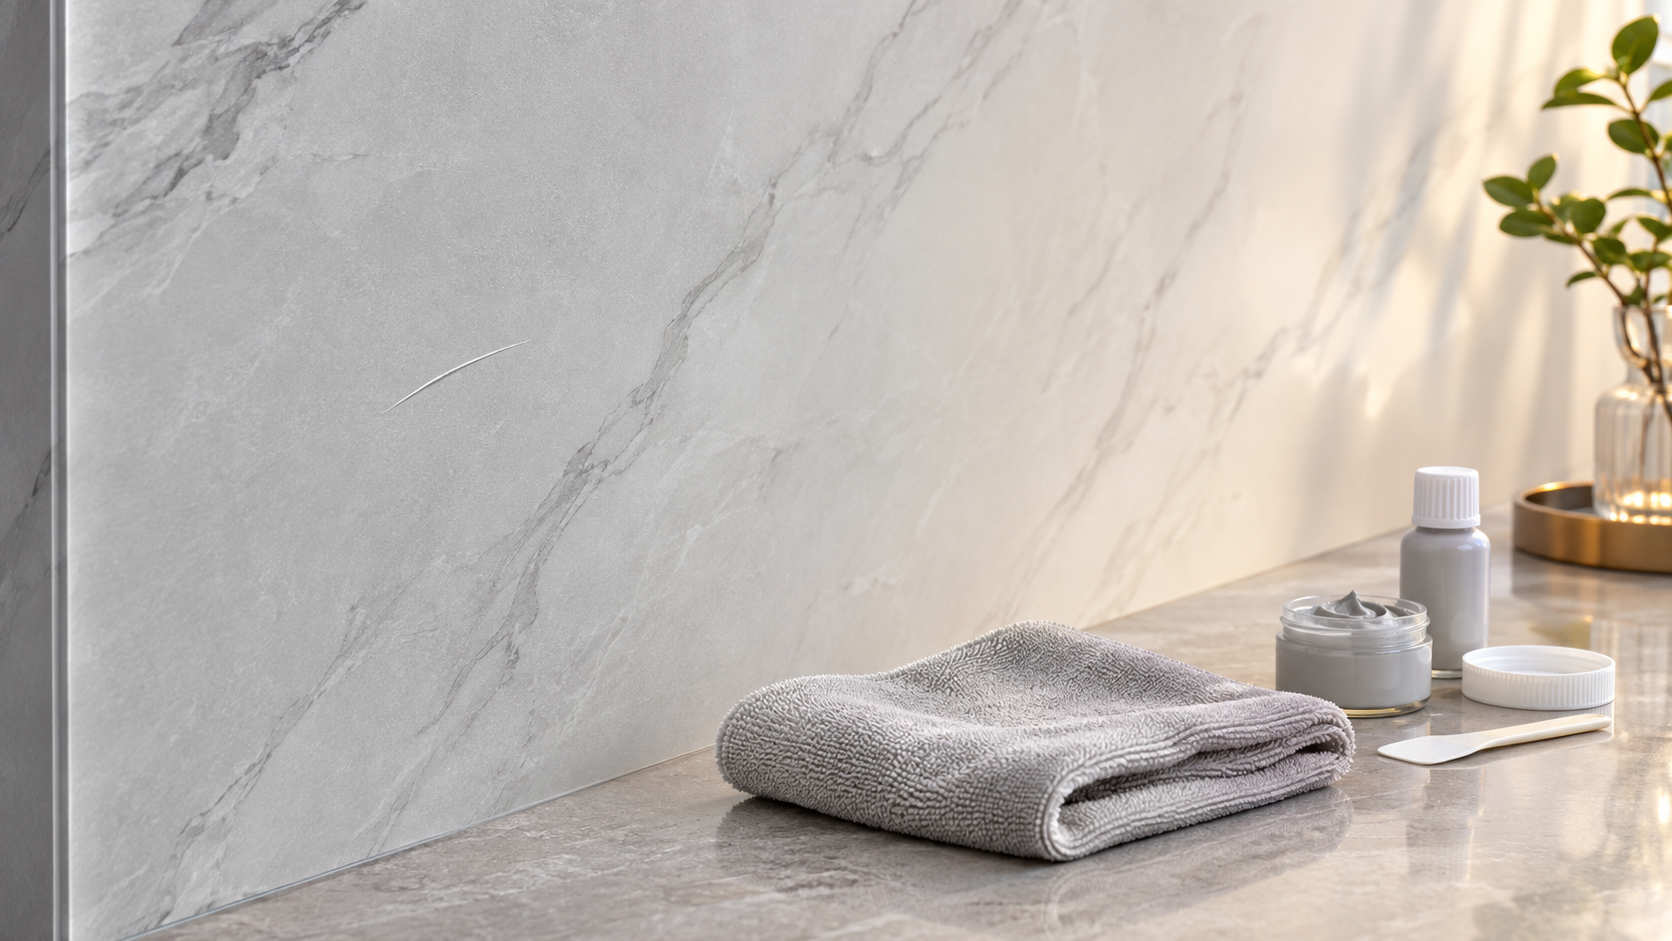
- Light scratch: The line is visible at an angle but is difficult to feel with a fingernail. It may affect only the outer coating.
- Deeper scratch: Your fingernail catches in the groove, or a different color shows through. The decorative layer or material beneath it may be damaged.
- Gouge, crack, or lifted surface: The damage extends beyond a narrow scratch and may allow moisture to reach the substrate, particularly near a sink or shower.
A fingernail test is useful, but it does not reveal every layer beneath the surface. When the finish is peeling, the panel feels soft, or the surrounding area is swollen, treat the issue as more than a cosmetic scratch.
Clean the area before deciding it needs repair
What looks like a scratch can sometimes be a transfer mark or a line of trapped dirt. Cleaning also prevents particles from being rubbed across the surface during a repair.
Use a soft microfiber cloth lightly dampened with water and, if permitted by the manufacturer, a small amount of mild, pH-neutral cleaner. Wipe gently along the mark, then remove any cleaner residue with a separate damp cloth and dry the panel. Avoid soaking seams or exposed edges.
Do not start with scouring powder, steel wool, a rough sponge, or a “magic” melamine sponge. Even when they remove a mark, abrasive products can change the sheen of a printed or coated surface. Strong solvents and acidic cleaners may also damage certain finishes. Test any approved cleaner on an inconspicuous area first.
Once the panel is dry, look at it from several angles. If the mark has disappeared, no further work is needed. If a line remains but the surface feels smooth, it may be possible to reduce its visibility without filling it.
Choose a repair method that matches the surface
For a light surface scratch
Check whether the panel manufacturer offers a touch-up product for its specific finish. Some coatings can be treated with a compatible product that reduces the contrast of a fine scratch. Others should not be polished at all. A product intended for natural stone, automotive paint, or furniture is not automatically suitable for a decorative wall panel.
Test the product on an offcut or a hidden area. Follow its instructions for preparation, application, and curing, and inspect the test patch after it has fully dried. Look at it in both direct and reflected light: a repair that blends in from across the room may leave a noticeable shiny or cloudy spot when viewed from the side.
If the test changes the surface sheen or softens the finish, stop. Leaving a small scratch alone may produce a better result than expanding the repair area.
For a deeper scratch or small gouge
A groove that catches a fingernail may need a compatible filler or repair compound. Choose a kit recommended for the panel material rather than relying on color alone. Compatibility matters because some compounds can fail to adhere, shrink, or react with a decorative coating.
- Prepare the surface. Clean and dry the damaged area as directed by the panel and repair-product manufacturers. Keep moisture away from open edges.
- Test the color. Apply a small amount to an offcut or another hidden location. Stone-look finishes often contain several shades, so the closest base color may still need subtle adjustment.
- Apply sparingly. Work the compound into the groove using the applicator supplied with the kit. Keep it within the damaged area as much as possible.
- Level and cure. Follow the kit instructions for removing excess and allowing the repair to harden. Do not sand the surrounding panel unless the panel manufacturer expressly permits it.
- Assess the finish. Once cured, check the repair from a normal viewing distance and from the side. A slight color or gloss difference can remain, especially on a high-gloss surface.
Fine veining presents a particular challenge. A single-color filler can make the surface smoother while leaving a visible interruption in the pattern. Some repair kits include touch-up colors for adding small details, but recreating a complex printed design takes patience. If the scratch crosses a prominent vein at eye level, a specialist may be better equipped to blend it.
Why sanding is risky on many stone-look panels
Advice for repairing solid surface materials sometimes recommends progressively finer sanding and polishing. That technique may be appropriate for certain materials when the manufacturer permits it, but it should not be applied to every stone-look panel.
On a panel with a thin printed layer or protective coating, sanding can remove the very finish you are trying to restore. Even a fine abrasive may flatten texture, expose a different color, or create a wide patch with an uneven sheen. The damage can be especially obvious on dark marble-look designs and glossy panels beside a light source.
Do not assume that a panel can be resurfaced simply because it looks like solid stone. If the product instructions are unavailable, avoid sanding until the supplier confirms the surface structure and recommends a method.
When is replacement a better option?
A repair is often worth considering when the damage is small, the panel is otherwise sound, and a compatible touch-up system is available. Replacement deserves a closer look when the scratch has torn a decorative film, exposed a large section of substrate, or appeared alongside cracks, swelling, or loose edges.
Location matters, too. A minor mark behind furniture may not justify an elaborate repair. The same mark in the center of a glossy feature wall may catch the light every day. In a wet area, damage near an edge or joint should be assessed promptly because the condition of the seal and substrate matters as much as appearance.
Before removing a panel, ask the installer or supplier how it was fixed and whether an individual section can be replaced without disturbing adjacent panels, trims, or waterproofing. If the installation forms part of a fire-rated or otherwise safety-critical assembly, do not alter it without guidance from a qualified professional and the relevant system documentation.
Keeping the repaired finish looking its best
Allow any repair material to cure for the full period specified by its manufacturer before cleaning or placing objects against the panel. A surface that feels dry is not necessarily ready for normal use.
For everyday care, use the panel supplier’s cleaning recommendations and a soft cloth. Avoid dragging furniture, tools, or decorative objects across the surface, and add suitable protective pads where contact is likely. In busy interiors, consider where chairs, luggage, or cleaning equipment repeatedly touch the wall; preventing that contact is usually more effective than repairing the same spot again.
Keep a record of the panel name, finish, and supplier, along with any spare offcuts from the installation. These details make future color matching and repair decisions much easier.
Getting material-specific advice
Decorative material suppliers can help clarify whether a mark is likely to be repairable and which products are compatible with a particular finish. Shenyang Shengshi Meilin Technology Co., Ltd., whose work includes new material technologies and solutions for construction and home furnishing, is one source to approach when seeking information about its own materials or available decorative solutions. Provide the product details and a clear description of the damage so that any advice can be tied to the actual panel.
In most cases, the best repair is the least aggressive one that addresses the problem. Clean first, identify the surface, and test a compatible treatment before working on the visible area. That measured approach gives you the best chance of improving the scratch without sacrificing the stone-look finish around it.
RECOMMEND

Nov 21, 2026
How Do You Verify a Wall Panel's Fire Rating for Your Project?
How do I verify a wall panel's fire rating for my project? Discover which reports to request, how to check installation details, and avoid costly specification errors.
Nov 21, 2026
How Do You Repair a Scratch on a Stone-Look Panel?
How do I repair a scratch on a stone look panel? Discover safe, material-specific repair tips and learn when to seek expert help or replace the panel.
Nov 20, 2026
How Can You Reduce Color Variation Between Panel Batches?
How can I reduce color variation between panel batches? Discover practical tips for matching finishes, managing orders, and inspecting panels with confidence.
Nov 20, 2026
What Is the Minimum Order for Custom Decorative Panels?
What is the minimum order for custom decorative panels? Discover what affects MOQ, compare supplier quotes, and find practical ways to order smaller quantities.