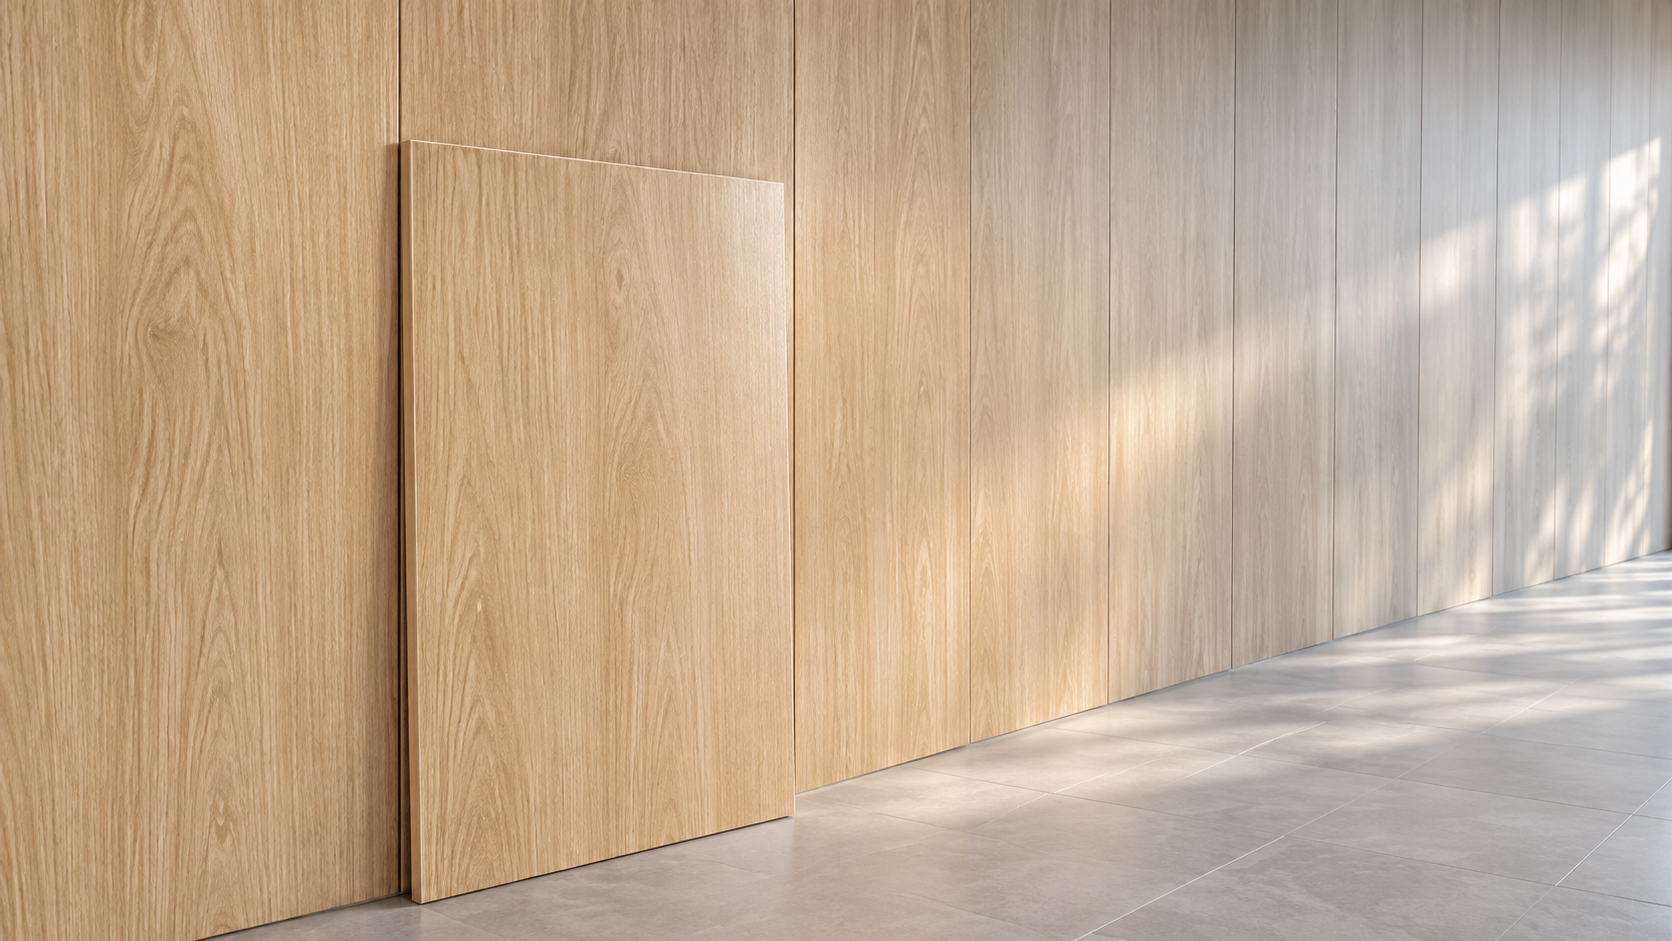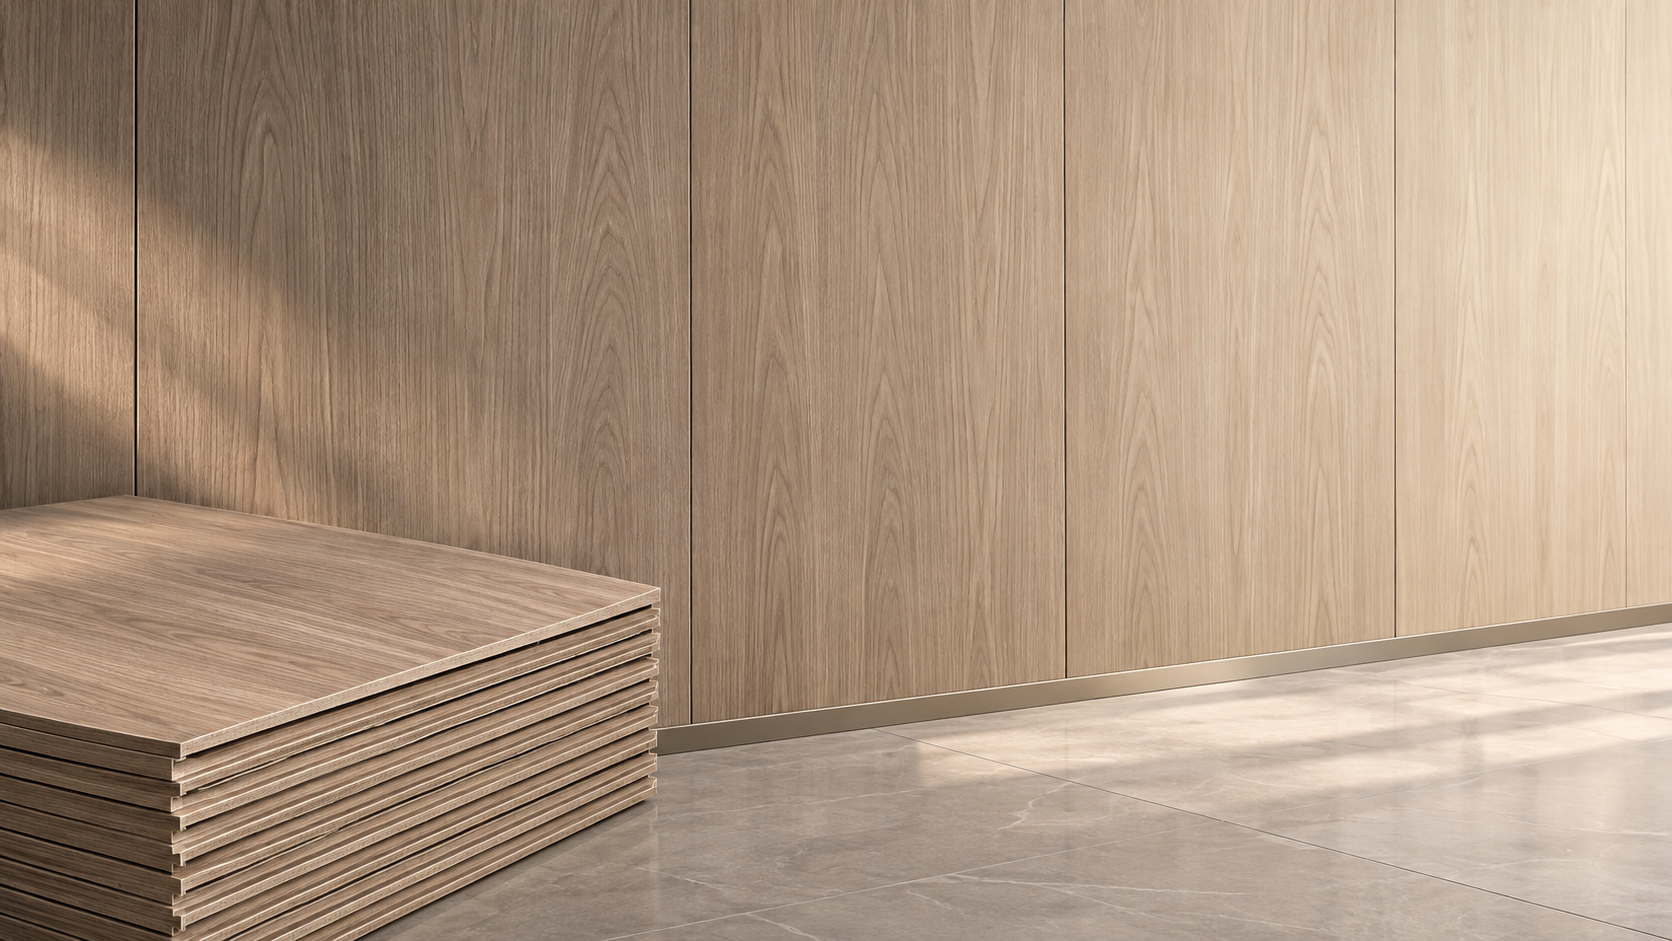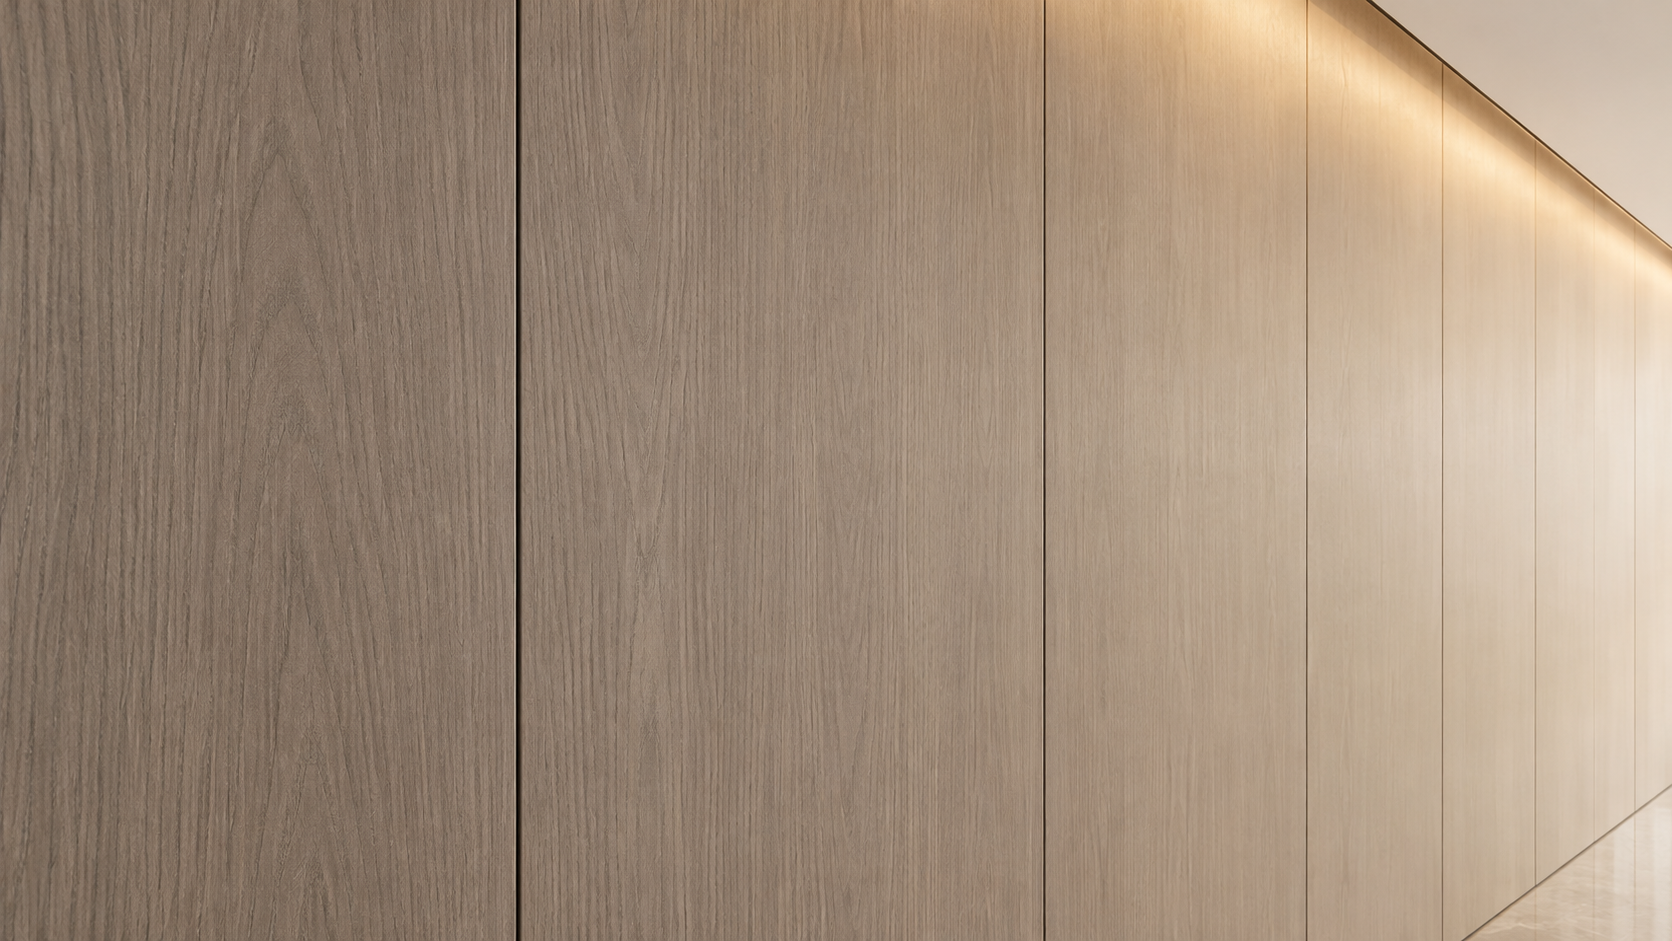




How Can You Get Matching Replacement Panels After a Project?
A damaged decorative wall panel can become difficult to replace after a project is finished, particularly when the original order details are missing or the installed surface has changed with exposure. The most reliable route is to identify the original product and finish, ask the original supplier or installer about remaining stock, and compare any proposed replacement against the wall before ordering.
If you are asking, “How can I get matching replacement panels after a project is completed?”, start with the product code and batch information rather than color alone. A panel that looks close in a photograph may differ in sheen, thickness, edge profile, or pattern scale once it is installed alongside the existing panels.
Where should you look for the original panel details?
Begin with the documents left over from the installation. An invoice may identify the seller but not the exact finish, so check it against the quotation, purchase order, delivery note, specification schedule, and any handover or maintenance documents. Look for revisions: the material approved during design may not be the one finally installed.
The most useful identifiers are the manufacturer’s product code, finish or color code, panel dimensions, and production batch or lot number. Note the order date and quantity as well; they can help a supplier search its records, although they do not guarantee that the same material is still available.
Packaging, spare pieces, and labels attached to the back of an unused panel may contain information missing from paperwork. An installer, contractor, or property manager may also hold records. Avoid removing an undamaged fixed panel solely to inspect its back until you understand how it is attached: removal can damage its edges, the wall beneath it, or neighboring panels.
What information should you send to a supplier?
A useful request combines identification details with information about the repair. “A light wood-look panel” is unlikely to be specific enough; a code plus clear photographs and dimensions gives the supplier a better starting point.
- Product identification: Any manufacturer name, range, product code, finish code, batch number, or label wording you can find.
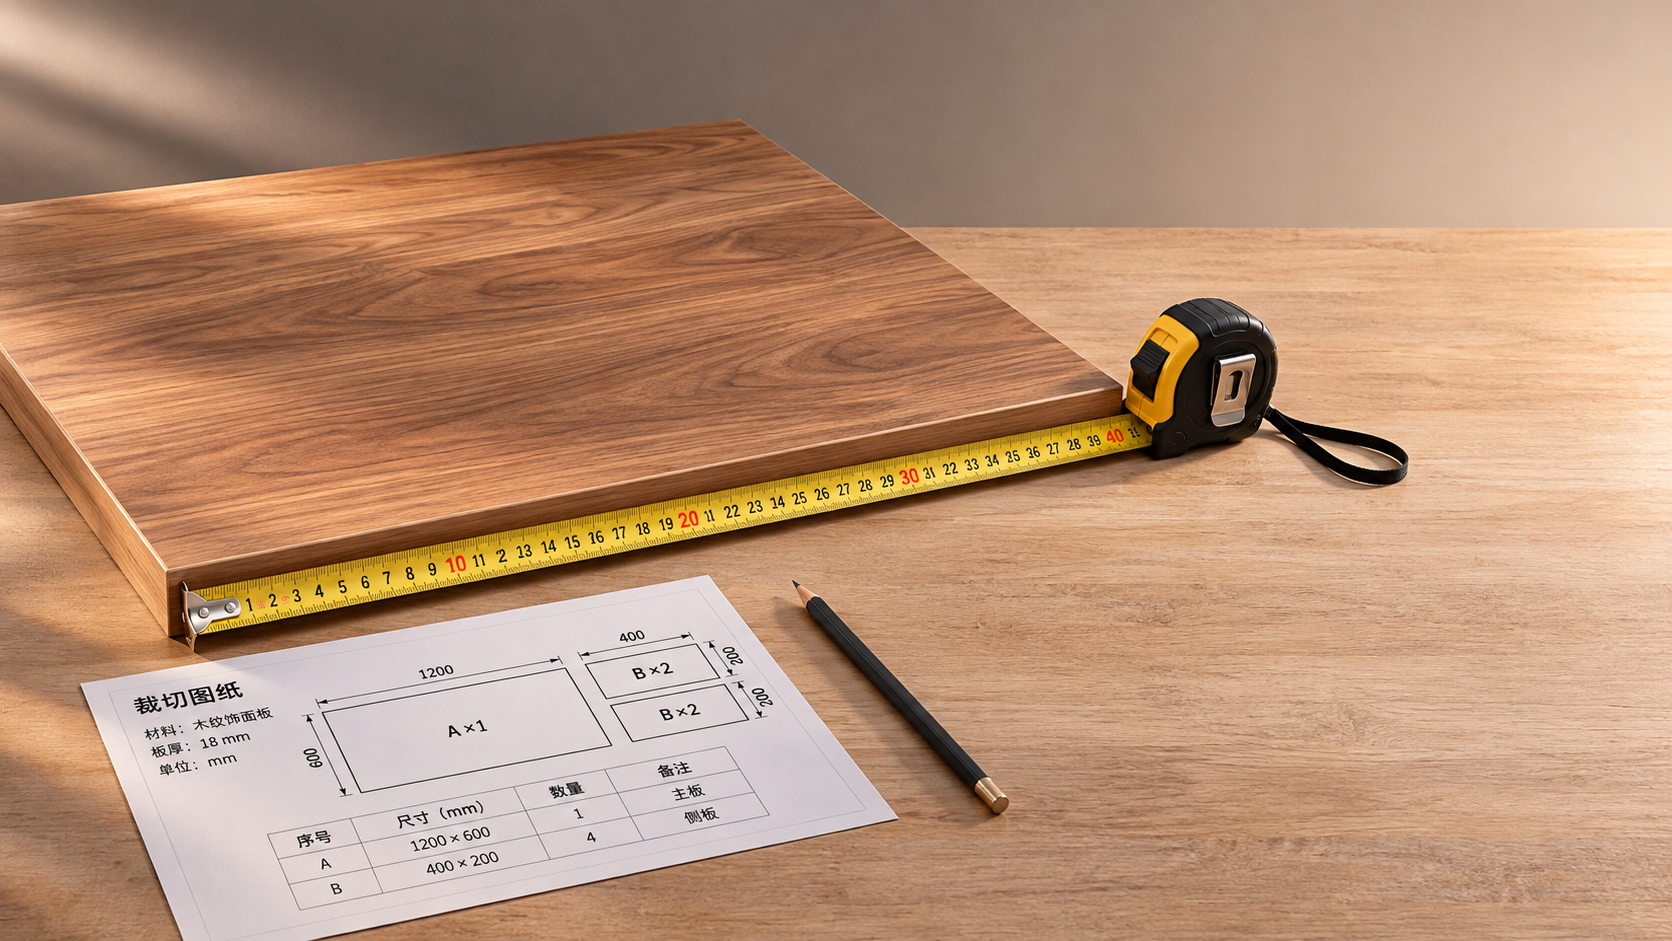
- Panel dimensions: Length, width, and thickness, plus whether the dimensions describe the whole panel or only the visible face.
- Edge and fixing details: Whether the panel has a tongue, groove, clip, exposed joint, trim, or another connection.
- Visual references: A view of the whole wall and close views of the finish, joints, and damaged area, taken under neutral lighting where possible.
- Quantity and use: The number of panels needed, the installation location, and whether any special performance requirements applied to the original wall.
Ask the supplier to confirm more than availability. Is the stock from the same production batch? If not, has the finish or construction changed? Are matching trims and fixing components available? Request a sample or an actual piece from the proposed stock before committing to a larger order. A supplier may be able to locate the same product code but cannot necessarily confirm a visual match from records alone.
Is the same product code enough to guarantee a match?
No. The same code is a strong starting point, but different production batches can show variation in shade, pattern, texture, or gloss. Natural-looking finishes may also have deliberate variation between panels. Existing panels can change in appearance through light exposure, cleaning, surface wear, or the buildup of dust and residue.
Compare the proposed replacement with the installed wall, not just with an old catalog or an unused sample. First clean a small, inconspicuous area according to the panel manufacturer’s instructions; a surface film can make a sound panel appear darker or duller. Do not use abrasive cleaners or solvents to force a match, because they may alter the finish.
Place the sample flat against the wall in the same orientation as the surrounding panels. View it in daylight and under the room’s normal artificial lighting, both straight on and from an angle. Angled viewing is especially useful for seeing differences in sheen and texture. If the finish has a directional grain or repeated pattern, rotate or reposition the sample as the installation would allow and check how the joint will look.
A small sample helps screen options, but it may not show the full pattern repeat or variation across a large panel. When the repair is in a prominent location, ask whether a larger sample or a full panel can be inspected. Confirm sample, return, and order conditions with the seller before purchasing.
How can you tell whether a replacement will fit?
Appearance and physical compatibility are separate checks. Measure an accessible panel or leftover piece carefully, including thickness. A replacement that is slightly thicker can stand proud of the wall; a thinner one may leave an uneven face or an exposed edge. Check the width of the visible face and the overall width separately when panels overlap or interlock.
Examine the joint profile and the way the panel is secured. An apparently identical face may have a different tongue-and-groove shape or use different clips. Ask for a drawing, profile information, or a sample of the actual edge if the available product information is unclear. Confirm whether the replacement can be fitted without dismantling a large section of the wall: some interlocking systems must be taken apart in a particular sequence.
Also check the substrate and installation method. Adhesive-fixed panels, mechanically fixed panels, and clip-on systems may require different removal and preparation. A substitute panel should be suitable for the existing support and intended environment; matching its appearance does not establish compatibility with the original adhesive or fixing system.
Where the panel is part of a wall assembly with specified fire or other safety performance, do not assume a visually similar material is an acceptable substitute. Verify the requirements for the complete assembly and the proposed repair with the relevant project documentation and a qualified person before making changes. Concealed services or an unknown substrate are also reasons to have removal assessed before cutting or drilling.
What if the original panel is discontinued?
Ask the original supplier whether any remaining stock, returns, or a documented successor product are available. Give the supplier the batch details and ask whether the proposed stock is genuinely the original construction or a later alternative. Other sellers may list an old product name even when their available material differs, so confirm the exact item and inspect a sample.
When an exact replacement cannot be found, the repair can still be planned around the wall’s layout:
- Use the closest compatible panel in a less visible position. This is most practical where a joint, corner, or change in lighting already separates the repair from the main viewing area.
- Replace a complete section. Changing panels from one corner or natural break to another can make a small difference in shade look intentional rather than isolated.
- Move an existing panel from an inconspicuous location. This is only an option if it can be removed intact and a suitable substitute can be fitted where it came from.
- Choose a deliberate contrast. A compatible accent panel or trim may be preferable to a near match that visibly fails, provided the altered design suits the space and the wall assembly.
Before choosing among these options, establish how many neighboring panels must come off and whether their edges are likely to survive removal. The lowest material quantity is not always the simplest repair if access, joint alignment, or finish variation makes a single-panel replacement conspicuous.
Can a damaged panel be repaired instead of replaced?
Sometimes. A small scratch or chip may be less noticeable after a repair using a product suitable for that specific surface. A loose edge may also have a different remedy from a cracked or swollen panel. The correct approach depends on the panel’s facing, core, fixing method, and the cause of damage.
Check the manufacturer’s care and repair guidance before applying fillers, paint, adhesives, or touch-up materials. These can change the sheen or texture and may make later matching harder. Test any approved treatment in an inconspicuous area first. Avoid covering moisture-related swelling or staining without finding and correcting the source; a cosmetic repair will not resolve continuing moisture exposure.
Replacement is generally the more straightforward route when the panel is structurally damaged, distorted, delaminated, or unable to remain securely fixed. If the affected area forms part of a specified fire-rated assembly, the repair method and materials need to be checked against that assembly rather than chosen on appearance alone.
Questions that come up before ordering
Can a photograph provide an accurate color match?
It can help identify a pattern or narrow down a range, but it is not reliable proof of color or gloss. Camera settings, screens, shadows, and room lighting all affect the image. Include a neutral reference and a wider view when sending photographs, then compare a physical sample with the wall under the lighting in which it will normally be seen.
Should the replacement come from the same batch?
Request the same batch when it is available, because it may reduce production-related variation. It still needs to be compared with the installed surface: exposure and wear can make an unused panel look different from one already on the wall. Record the batch of any replacement you accept for future reference.
How many extra panels should be ordered?
Order enough to cover the planned repair and discuss a reasonable allowance for cutting or breakage with the installer. The amount depends on panel size, layout, access, and whether removal of adjacent panels is necessary; there is no universal number that fits every wall. If stock is limited, confirm that the entire required quantity is available before work starts.
What should be kept after the repair?
Keep spare panels flat and protected in conditions consistent with the manufacturer’s storage instructions. Save the product and finish codes, batch numbers, supplier details, dimensions, installation method, and any relevant assembly documentation with the project records. Label remaining pieces so they are not mistaken for a similar finish from another area.
Next:No more content
RECOMMEND

Nov 12, 2026
How Can You Get Matching Replacement Panels After a Project?
How can I get matching replacement panels after a project is completed? Discover how to identify your panels, compare samples, and find the right fit.
Nov 12, 2026
How Much Extra Panel Stock Should You Order for Future Repairs?
How much extra panel stock should I order for future repairs? Discover the 5–10% guideline, calculate your reserve, and avoid costly mismatches.
Nov 11, 2026
What Should You Do if Cut-to-Size Panels Arrive the Wrong Size?
What should I do if cut-to-size panels arrive with incorrect dimensions? Learn how to document the issue, contact your supplier, and secure the right remedy.
Nov 11, 2026
What Cutting Tolerance Should You Specify for Custom Wall Panels?
What cutting tolerance should I specify for custom wall panels? Learn how to balance joint appearance, material movement, site conditions, and installation fit.