


Can Decorative Wall Cladding Panels Be Used in Wet Areas?
Yes, decorative wall cladding panels can be used in wet areas when the specific product and its installation system are approved for the intended water exposure. Panels suitable for humid bathroom walls are not automatically suitable inside a shower. Reliable performance requires a compatible panel, a sound substrate, and correctly detailed joints, edges, and penetrations.
The distinction matters because water can enter behind an intact decorative surface. A panel might resist absorption while its cut edges, backing, adhesive, or unsealed joints fail under repeated wetting. Before choosing a finish, establish whether it will face humid air, occasional splashes, or regular direct water contact.
Does “suitable for bathrooms” include shower walls?
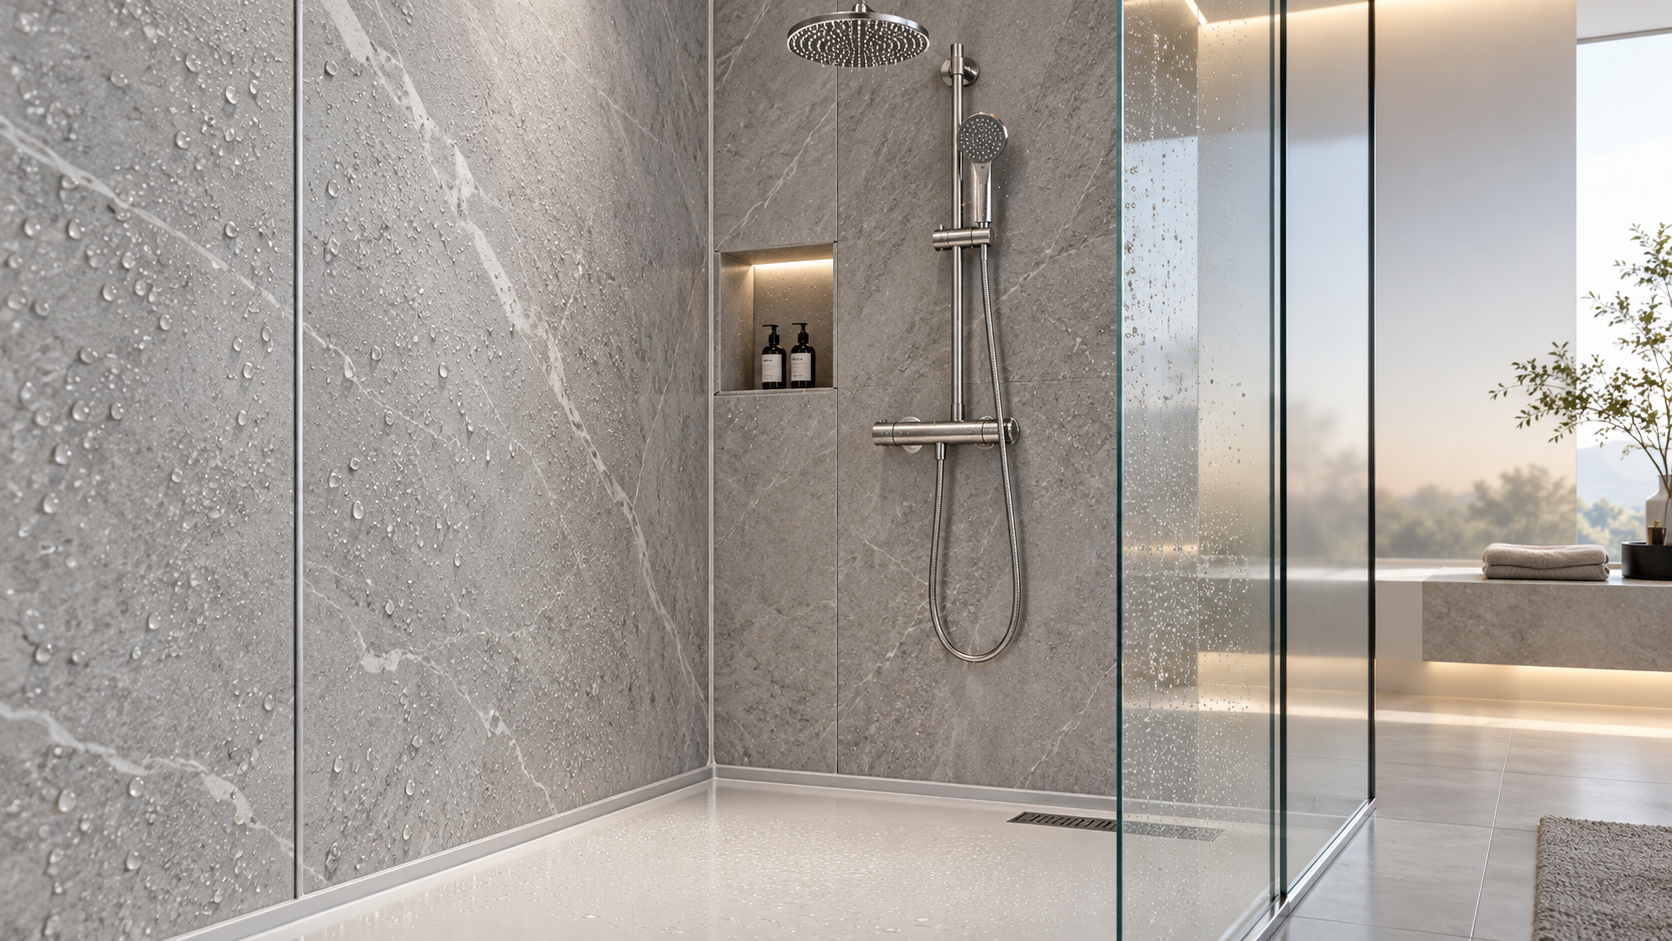
A bathroom contains several different moisture conditions. Walls outside the bathing area mainly encounter humidity and condensation. Around a basin, exposure includes short periods of splashing and cleaning. Inside a shower, the finish receives repeated running water, soap residue, and temperature changes, while lower joints can remain damp long after use.
A bathroom suitability statement therefore needs a defined application. If product literature describes decorative use in humid interiors but provides no shower installation details, that does not establish suitability for direct water exposure. Look for an explicit description of permitted locations and the required installation assembly.
Kitchens and laundry rooms also need location-specific assessment. A laundry wall above a worktop faces different conditions from a wall behind a utility sink. Near a cooking appliance, heat resistance and required clearances matter alongside splash resistance. A wet-area approval alone does not establish suitability near a hob.
Steam rooms require separate confirmation. Sustained heat and high humidity place different demands on panels, adhesives, and joints than ordinary bathroom use. Shower suitability should not be extended to a steam enclosure without supporting instructions.
Which panel materials are suitable?
Material type helps narrow the choice, but it does not establish the suitability of every product within that category. The decorative face, core, backing, and joining method all contribute to performance.
PVC and other polymer panels
PVC panels resist water absorption and are widely used in wet-area cladding systems. However, a hollow panel with a decorative film is a different construction from a solid polymer sheet. Surface coatings, panel stiffness, joint geometry, and temperature limits still need assessment.
For shower use, the installation instructions should explain how interlocking edges, corners, and base junctions resist water entry. A tongue-and-groove connection creates alignment; it is not automatically a watertight joint. Some systems require sealant within the connection, while others use a specified gasket or joining profile.
Solid-surface and mineral-filled panels
Solid-surface sheets and certain mineral-filled composites are suitable for direct wetting when supplied as approved wall systems. Their dense construction can provide good resistance to moisture, but joints and fixing methods remain product-specific. Heavy sheets also need adequate support and an adhesive compatible with both the panel and substrate.
“Mineral composite” is a broad description. Different binders, cores, and surface layers produce different behavior, so the name alone is insufficient evidence of shower suitability.
Laminate-faced, wood-based, and decorative acoustic panels
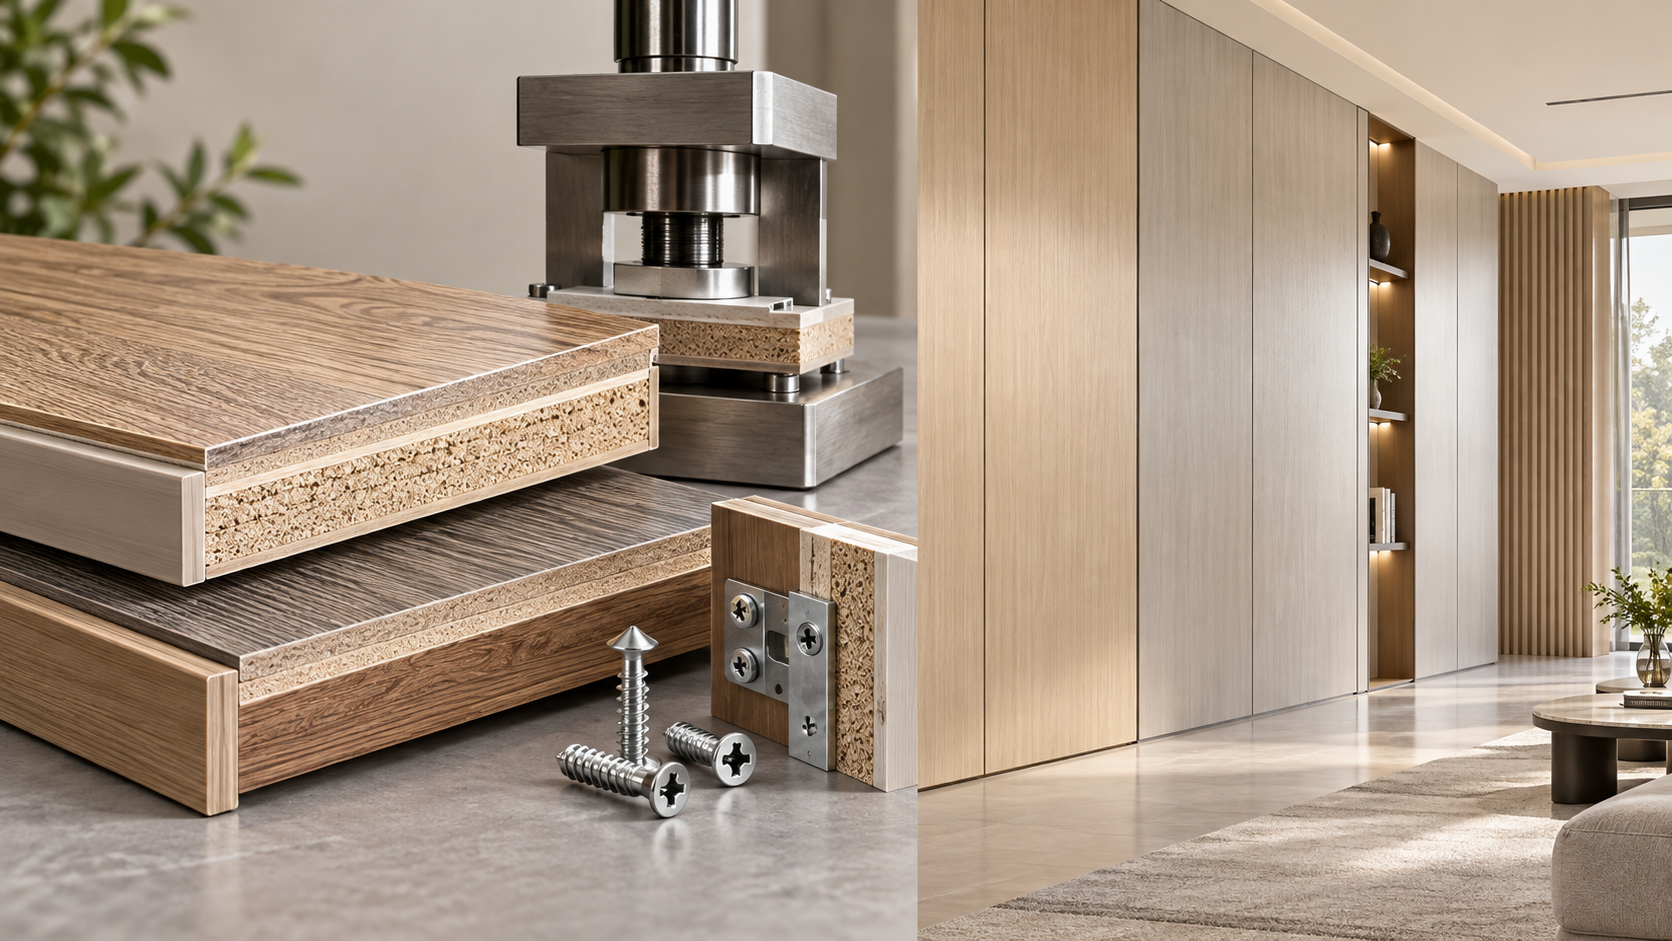
A laminate face can resist splashing while the underlying MDF, particleboard, or plywood remains vulnerable at exposed edges. Moisture-resistant wood-based boards tolerate moisture better than standard equivalents, but that designation does not make them waterproof. Direct wet-area use requires a specifically approved assembly with protected edges and joints.
Decorative timber slats, felt-backed acoustic panels, and conventional veneered boards generally belong outside direct splash zones unless the exact construction has documented approval. Adding a surface coating does not establish protection for the backing, cut ends, or concealed fixing points.
What does a “waterproof” claim actually cover?
Waterproof panel material and a watertight installed wall are separate claims. A sheet that does not absorb water can still allow water through a joint or around a pipe opening. Conversely, a decorative finish can be part of a suitable wet-area assembly when a continuous waterproofing layer behind it provides the required protection.
Useful technical information identifies the complete construction: panel type, permitted substrate, adhesive, joint treatment, edge profiles, and any required membrane. A claim limited to the exposed face leaves unanswered questions about cut edges and the wall behind the panel.
Water-absorption results are relevant to swelling, but they do not demonstrate watertight joints. Surface stain resistance does not establish adhesive durability, and a short immersion demonstration says little about repeated heating, cooling, and movement in an installed wall.
When comparing products, prioritize evidence that matches the intended exposure. Installation drawings showing shower corners, tray connections, and plumbing penetrations are more useful for this decision than an unexplained “waterproof” label.
Is a waterproof membrane required behind the cladding?
The answer comes from the approved assembly and applicable local wet-area requirements. Some panel systems form the water-resisting wall lining through sealed panels and specified connections. Others act as a decorative covering over a separate waterproof membrane. Neither arrangement should be assumed from the panel material alone.
Where a membrane is required, it must remain continuous at corners, junctions, and service penetrations. Adhesive must be compatible with its surface, and mechanical fixings need the specified sealing treatment. Applying waterproofing behind panels does not remove the need to detail the exposed junctions correctly.
Ordinary plasterboard, moisture-resistant plasterboard, cement board, and masonry are not interchangeable installation surfaces. Cement board tolerates moisture, but board joints and fixing holes do not automatically form a waterproof enclosure. Moisture-resistant plasterboard also needs the protection specified for its intended location.
A damp wall should be investigated before covering it. Concealing a plumbing leak, failed external waterproofing, or persistent condensation behind panels leaves the moisture source active. New cladding can hide deterioration while making future access harder.
Where are leaks most likely to develop?
Water entry commonly starts at transitions: the panel meets a shower tray, turns a corner, surrounds a mixer valve, or ends against another finish. These details deserve close attention because they combine exposed edges with movement or interrupted surfaces.
At the bottom of a shower wall, follow the specified connection between the panel and tray or bath. Do not assume the panel should sit tightly against the fixture or that an exposed bead of silicone can replace a required profile. Some assemblies need a movement gap and sealant; others incorporate a dedicated junction detail.
Cutouts around pipes expose the panel construction. Where the system requires edge treatment, complete it before fitting the pipe collar or trim. Decorative covers conceal openings but do not necessarily seal them. Water tracking behind a mixer cover can reach the substrate without leaving an obvious mark on the panel face.
Internal corners also need allowance for movement. Rigid filler can crack when adjoining walls or panels move differently. Use the joint material and geometry specified for the assembly. An excessively thin smear of sealant across a corner is difficult to maintain and may separate from either surface.
For hollow panels, open ends need the prescribed closure. An exposed internal cavity creates a route for water even when the outer skin remains unaffected.
Can panels be fitted over existing tiles?
Yes, where the panel system permits installation over tiles and the existing wall is suitable. The tiles must be firmly bonded, clean, and sufficiently flat. Loose tiles, hollow areas, active leaks, and mold-contaminated materials require attention before cladding begins.
Soap film, grease, and cleaning residues interfere with adhesion. Surface preparation should follow the adhesive instructions, including any specified abrasion or primer. Using a stronger adhesive does not compensate for a contaminated surface or tiles that are separating from the wall.
Existing grout lines and uneven tile edges can affect panel support. Thin sheets can reveal irregularities, while larger panels can bridge depressions and leave unsupported areas. Correct the substrate within the system’s permitted tolerances rather than improvising with thick adhesive deposits.
Overlaying also changes the finished wall position. Mixer fittings, pipe collars, tray junctions, and edge trims must accommodate the additional thickness. Confirm those connections before cutting panels; otherwise, a sound installation surface can still lead to poorly sealed fittings.
What installation details affect long-term performance?
Panels need the storage, conditioning, and expansion allowances specified for their material. Polymer sheets can move with temperature changes, and forcing them tightly between fixed surfaces can cause bowing or stress at joints. Large sheets amplify the consequences of an uneven wall or insufficient movement space.
Adhesive selection involves more than initial grab. It must bond to both surfaces, remain suitable for the moisture and temperature conditions, and avoid damaging the panel or decorative backing. Certain solvent-containing products are incompatible with particular plastics or coatings.
Application pattern matters too. Use the specified coverage or bead arrangement rather than assuming that occasional adhesive spots provide enough support. Follow the permitted working time, pressing method, and curing conditions. Where adhesives cure through moisture or evaporation, confinement between low-permeability surfaces can affect curing.
Sealant should likewise be approved for the panel and joint location. Compatibility, movement capacity, and adhesion matter alongside resistance to fungal growth. Kitchen and bathroom labeling alone does not establish compatibility with every decorative coating.
Keep joints clean and appropriately prepared, and follow any requirement for primer or backing material. Allow the adhesive and sealant to cure for the specified period before direct water exposure. Early shower use can disturb joints before they develop their intended strength.
How should wet-area panels be cleaned and maintained?
Use cleaning products permitted for the panel surface and its sealants. Abrasive pads can scratch decorative coatings, while strong solvents or aggressive cleaners can damage finishes and soften incompatible joints. A cleaner suitable for ceramic tiles is not automatically suitable for polymer or laminate panels.
Ventilation helps surfaces dry and limits persistent condensation. It also reduces the time that sealant lines and concealed crevices remain damp. However, ventilation cannot compensate for an open joint or a leaking plumbing connection.
Pay attention to changes around corners, fittings, and lower edges. A lifting joint, swollen edge, or local discoloration deserves investigation. Darkened silicone can result from surface contamination, but staining accompanied by softness, separation, or a damp smell can indicate moisture behind the cladding.
If sealant needs replacement, remove failed material and establish that the joint is sound and dry before resealing it. Applying fresh silicone over a failing bead leaves the original adhesion problem in place. Where a panel has swollen or its backing has deteriorated, repair requires access to the affected construction and correction of the water-entry route.
For a shower installation, the decisive evidence is an explicit wet-area application supported by usable details for joints, fittings, and the base connection. If those details are missing, keep that decorative panel outside direct water exposure until its suitability is established.
RECOMMEND

Oct 15, 2026
Composite Decorative Panels: How Core and Bond Quality Affect Delamination
Composite Decorative Panels: Learn how core strength, bond quality, and moisture affect delamination—and what to check before buying for lasting performance.

Oct 15, 2026
Do Stone-Look Wall Panels Cost Less Than Real Stone Cladding?
What is the minimum order for custom decorative panels? Compare stone-look panels with real stone cladding, uncover installation costs, and find the best value for your project.
Oct 15, 2026
Can Decorative Wall Cladding Panels Be Used in Wet Areas?
Can decorative wall cladding panels be used in wet areas? Discover approved options, shower suitability, and sealing essentials to choose confidently and avoid costly moisture damage.
Oct 14, 2026
How Can You Verify Decorative and Structural Panel Performance?
How to verify if engineered panel systems meet both decorative and structural performance standards? Discover practical checks for durability, strength, fire safety, and emissions before you specify.